Official
Store
Store

 Cordless Tools
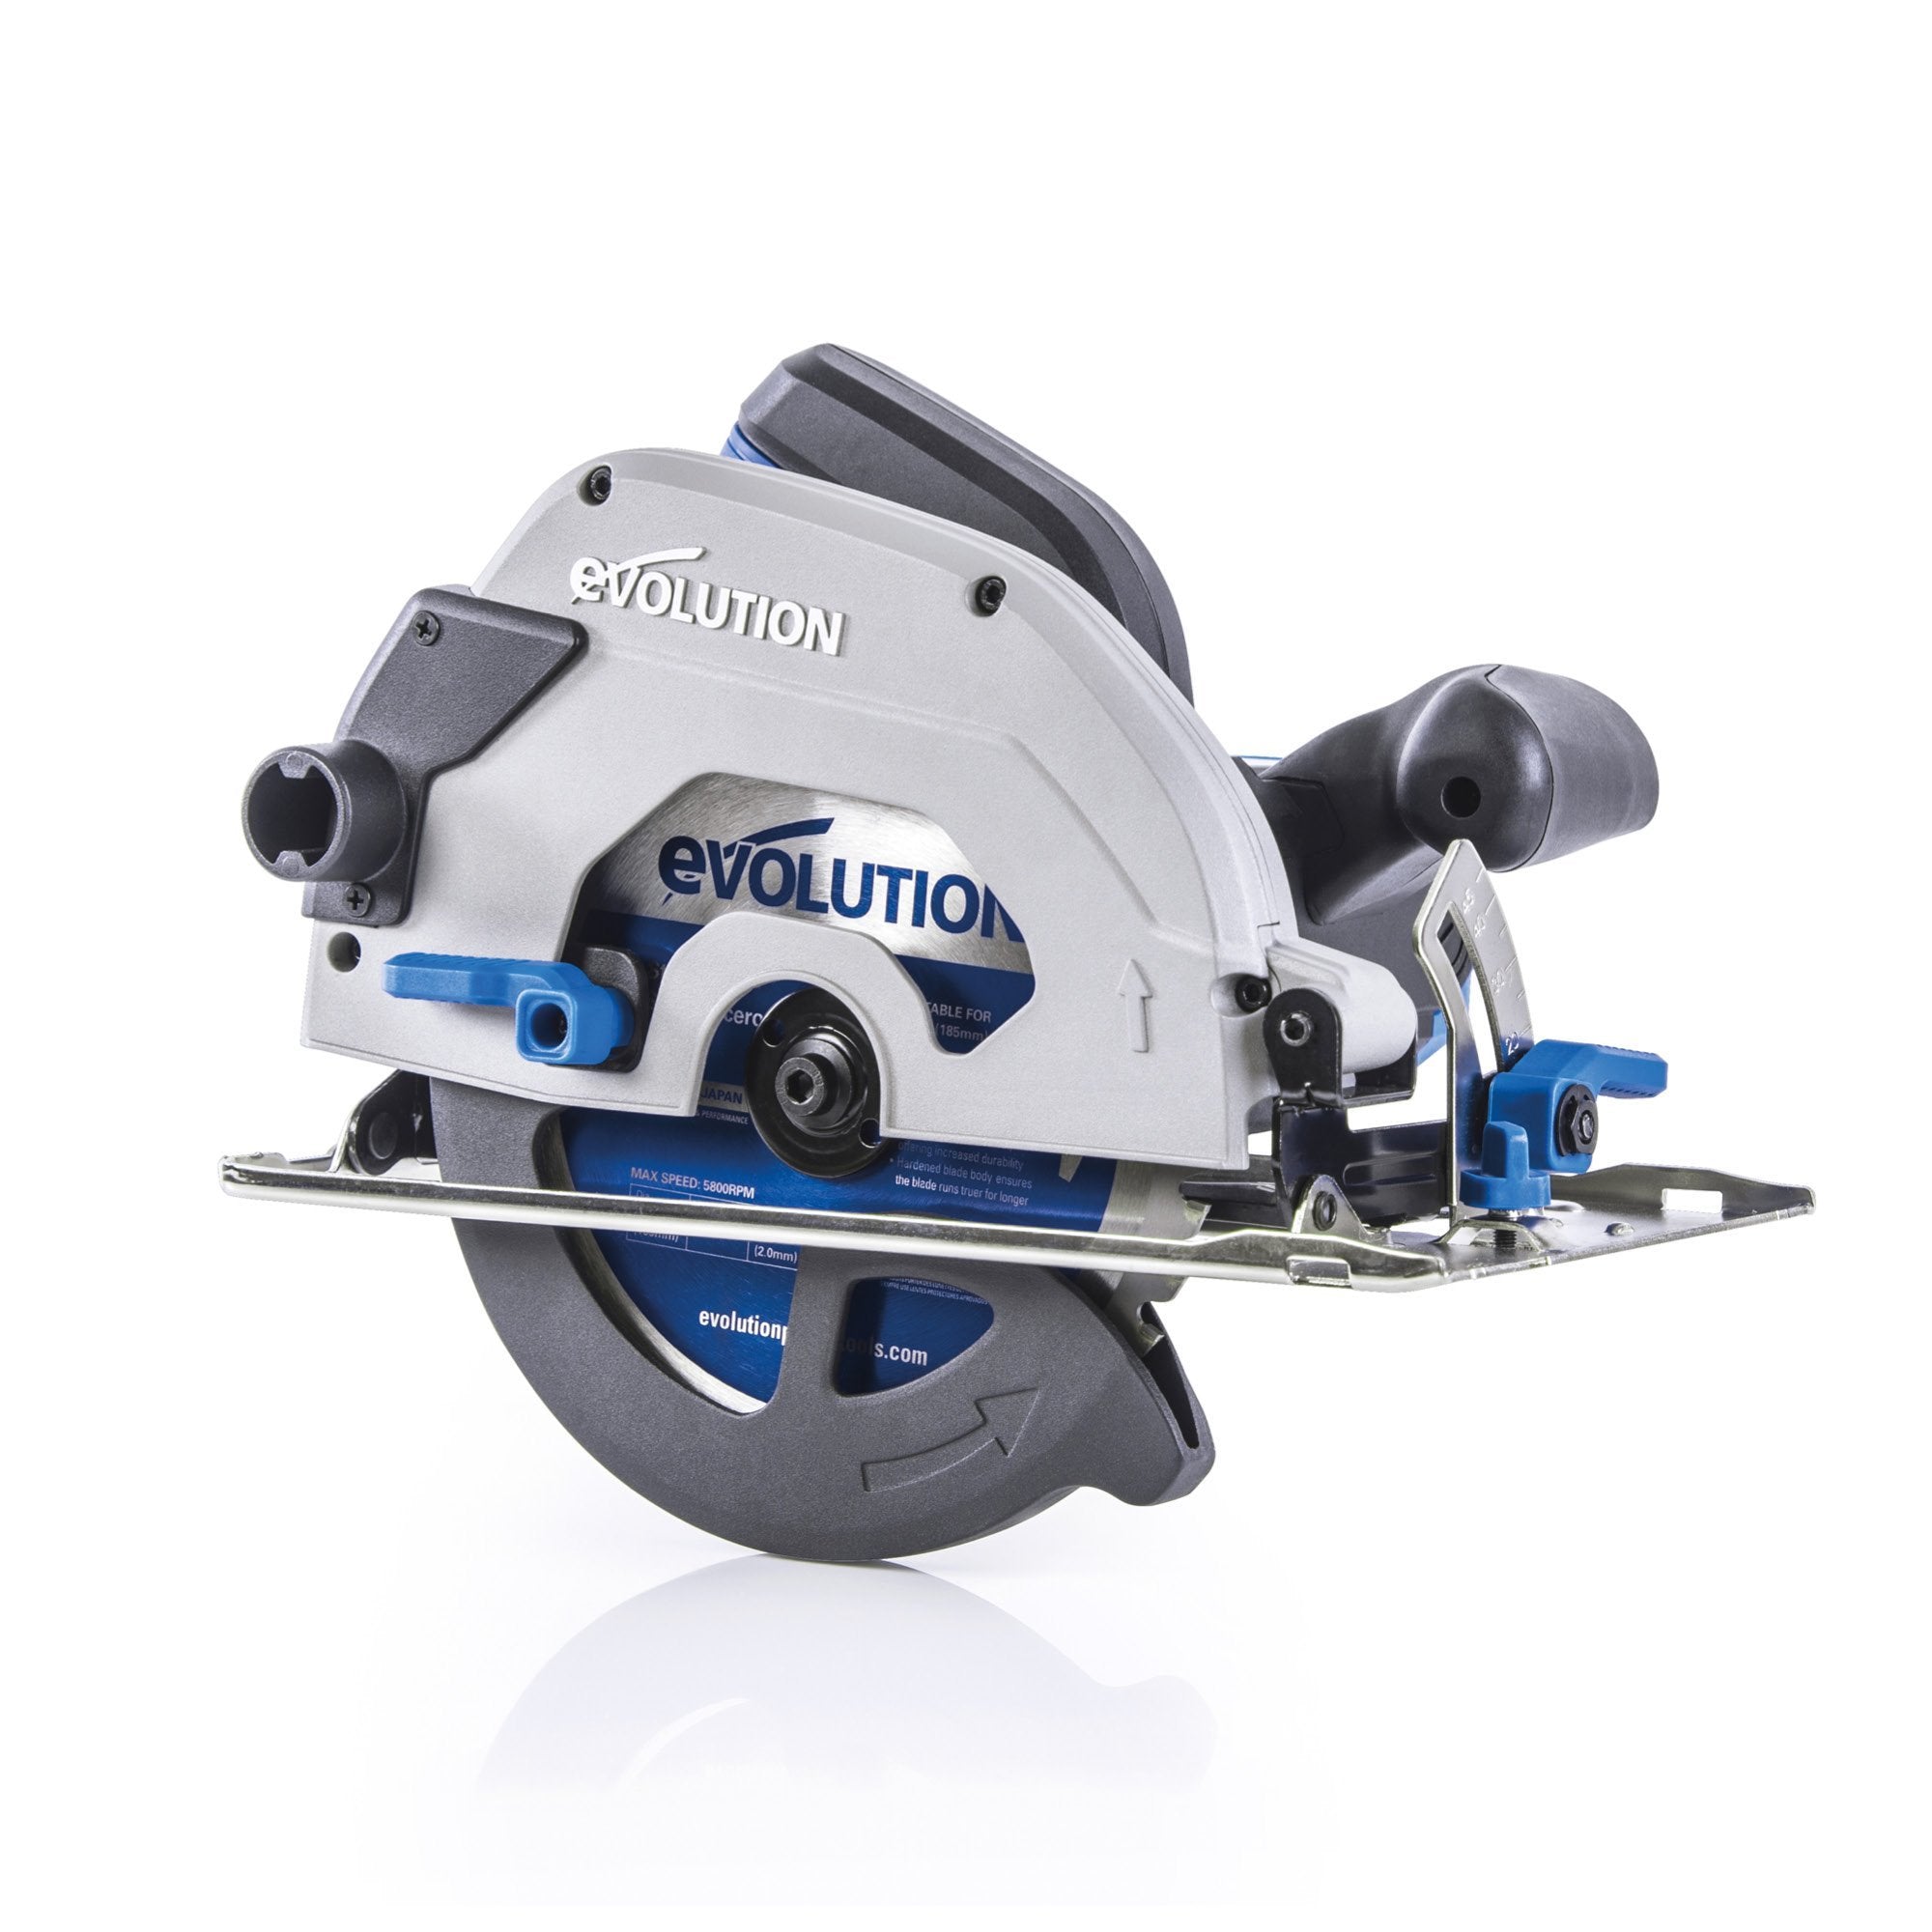
Circular Saws
Cordless Tools
Circular Saws


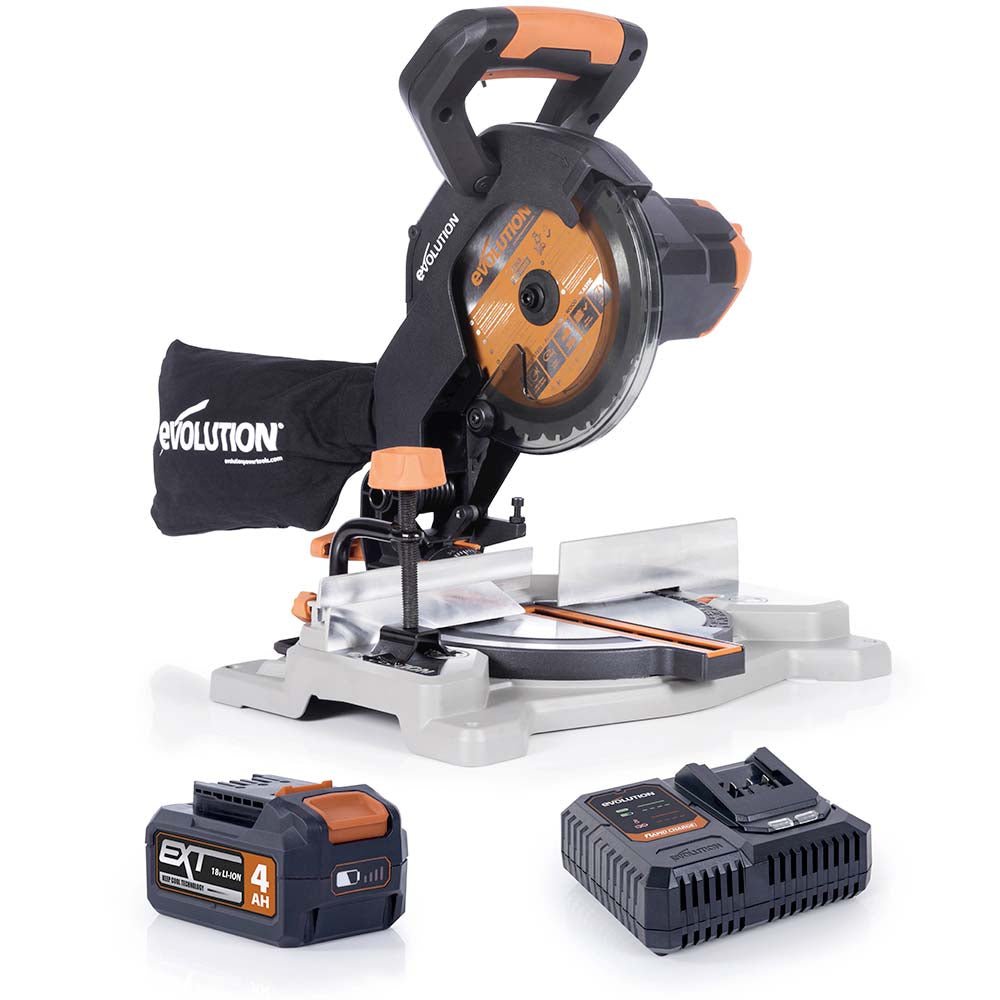
 Chop Saws & Accessories


 Contractor Tools
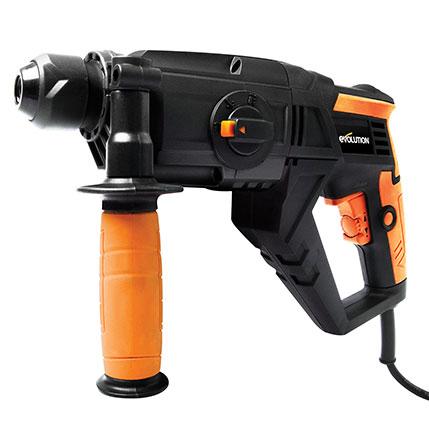
 Handheld Drills
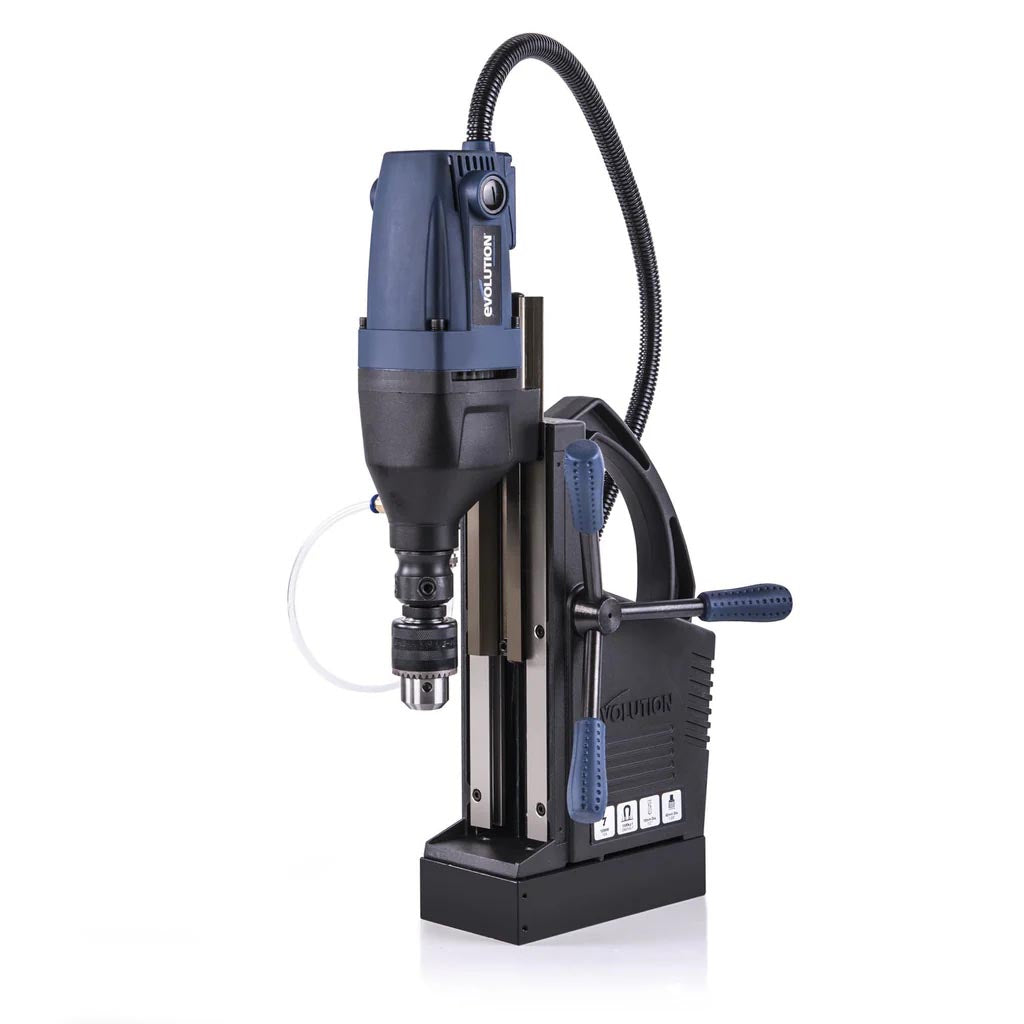 Magnetic Drills
 Mitre Saws


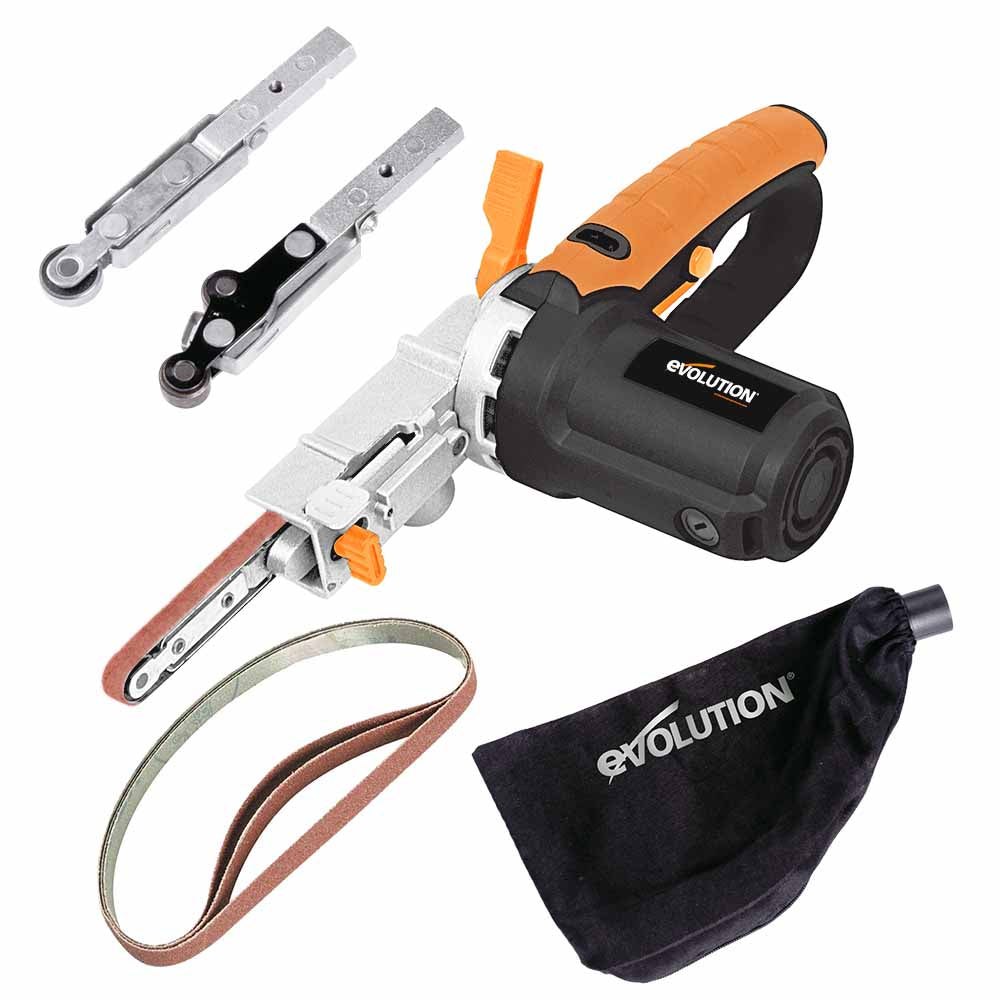
 Sanding Equipment
 Table Saws


A garden isn’t just a space—it’s an opportunity to create something amazing! Whether you’re adding colour to your patio or enhancing your garden’s charm, a DIY tiered planter is the perfect project. Best of all, you can build it using Evolution Cordless Power Tools, making the process effortless and rewarding. Follow this step-by-step guide to craft a stunning, durable planter and elevate your outdoor space.
✔ Beginner-Friendly – A great woodworking project for all skill levels.
✔ Uses Minimal Materials – Made from scrap wood or store-bought timber.
✔ Versatile & Stylish – Perfect for flowers, herbs, or small veggies.
✔ Built for the Outdoors – Designed to withstand the elements.

 Steps:
Start by deciding on the size of your planter. A three-tiered design is a great way to showcase multiple plants while maintaining a compact footprint. Use the Evolution R185SMS-Li Cordless Sliding Mitre Saw to make precise 90-degree cuts for the frame and tiers.
Tip: Use clamps to keep the wood secure while cutting for extra precision.
Lay out the cut pieces and begin assembling the base. Use the Evolution R18DR-Li Cordless Drill Driver to pre-drill holes before fastening with screws—this prevents splitting and ensures a stronger build.

Smooth out rough edges with sandpaper for a professional finish. You can stain or paint the planter to match your outdoor décor, or leave it natural for a rustic look.
Find the perfect spot in your garden, patio, or balcony. Water regularly and watch your plants thrive.
We love seeing your projects! Tag us with #EvolutionPowerTools on social media, get featured and inspire fellow DIYers. Click here for more tutorials, or visit Evolution TV for more inspiration and check out the full range of Evolution Cordless Power Tools.