Official
Store
Store

 Cordless Tools
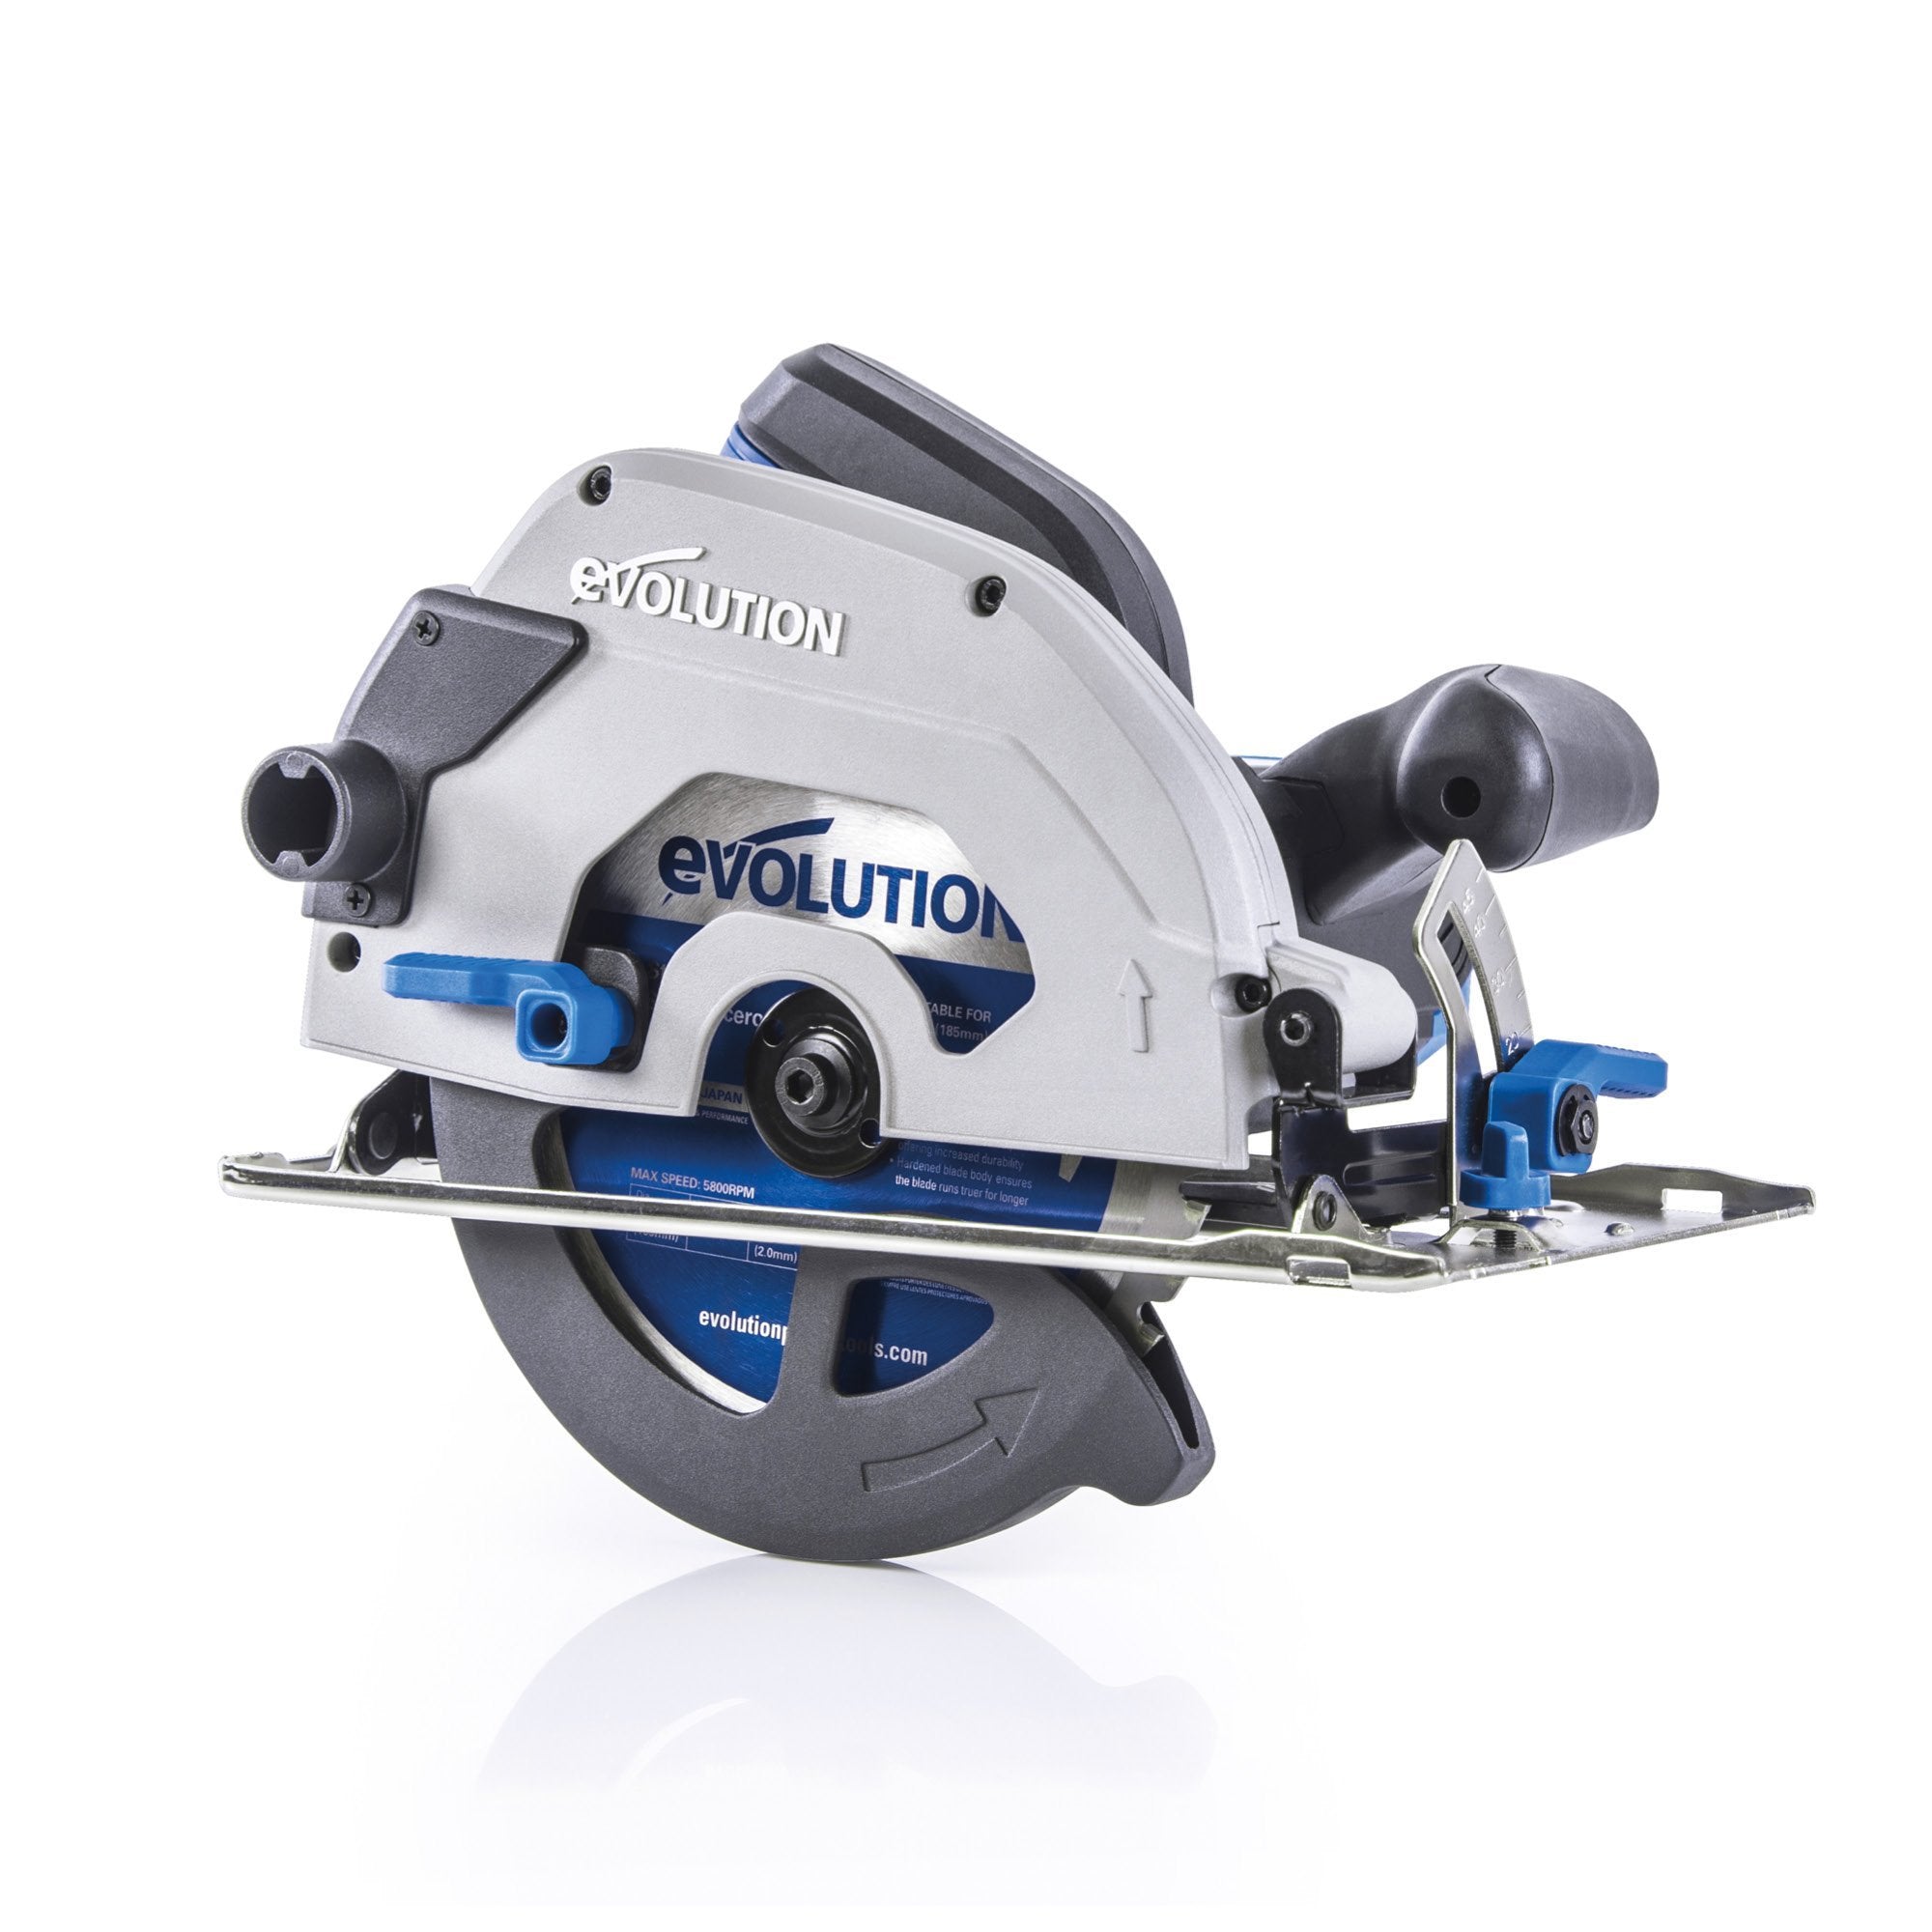
Circular Saws
Cordless Tools
Circular Saws


 Chop Saws & Accessories


 Contractor Tools
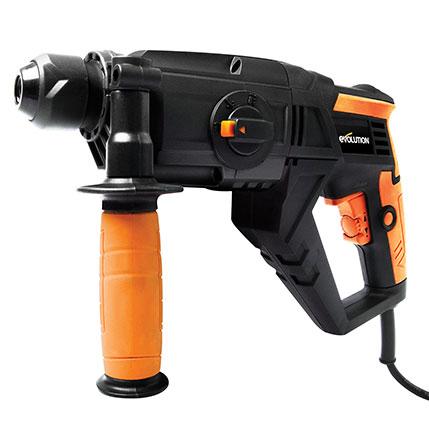
 Handheld Drills
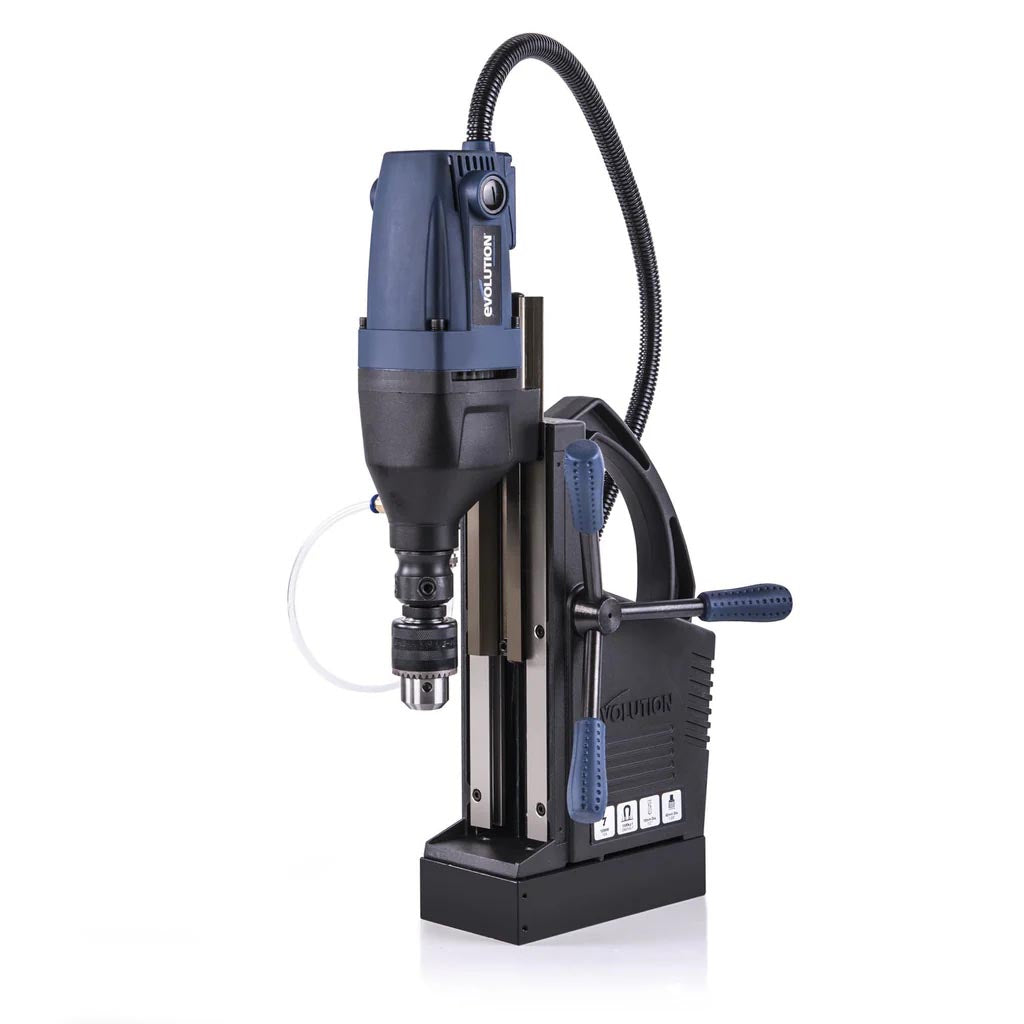 Magnetic Drills
 Mitre Saws


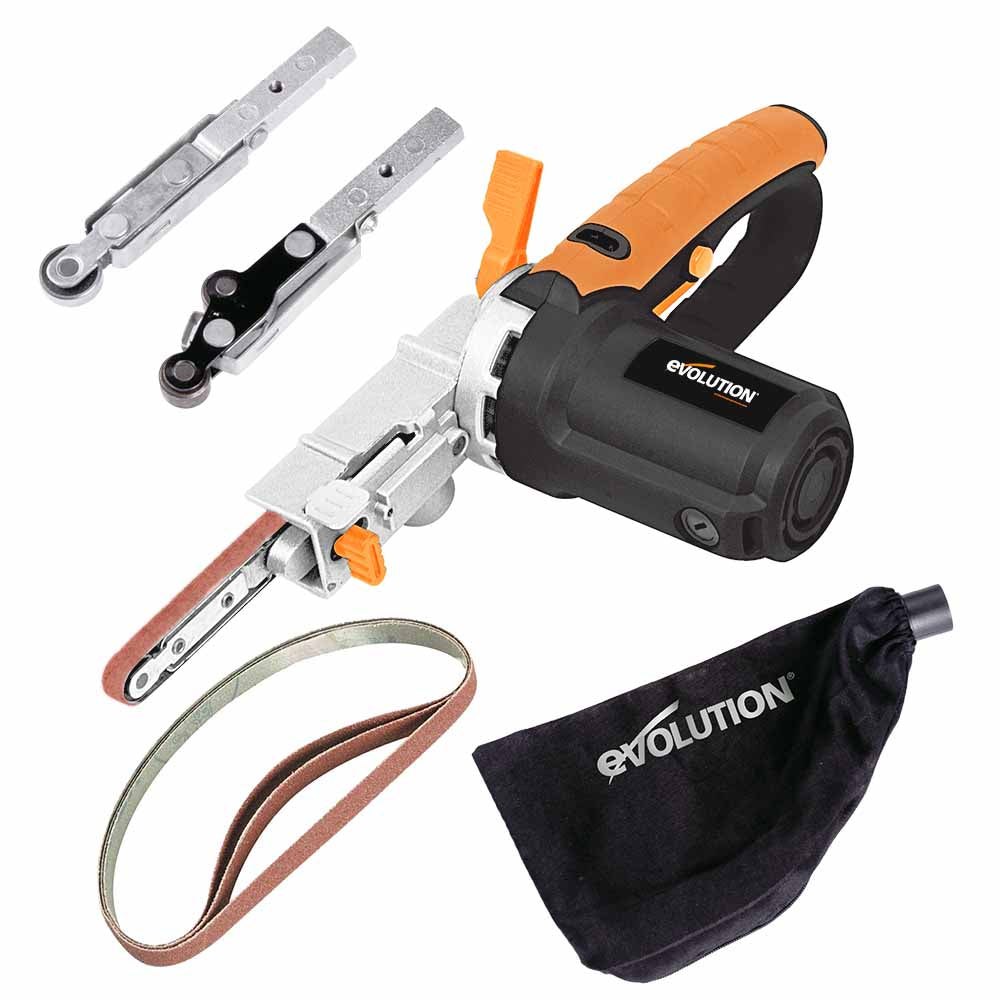
 Sanding Equipment
 Table Saws


Create your own beautiful and durable outdoor wooden bench with this easy step-by-step guide by furniture expert Russell Platten and Evolution Power Tools.
Are you looking to enhance your outdoor space with a stylish yet sturdy bench? Partnering with expert furniture maker Russell Platten, Evolution Power Tools brings you an easy-to-follow guide to create your own solid wooden outdoor bench. With straightforward instructions and reliable tools, you'll feel inspired and capable of tackling this rewarding DIY project.

Begin by deciding your bench length. Russell selected a 6-foot bench, but you can adjust this based on your space. Remember Russell’s golden rule: “Measure three times, cut once!”

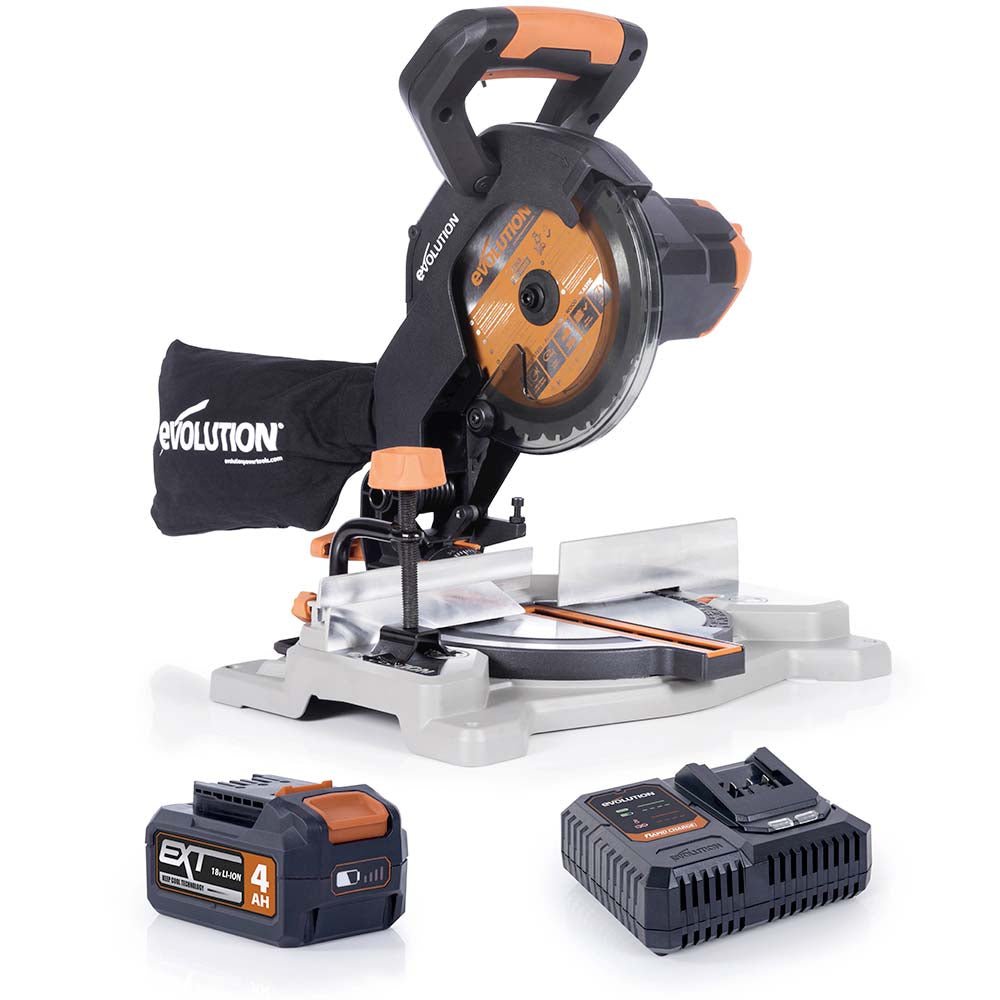
Using your Evolution mitre saw, cut two lengths of 8"x2" wood to your desired length. Precision here will set a solid foundation for your bench.
Cut two lengths of 4"x2" wood, each 2 inches shorter than your top pieces. This design ensures a professional finish, leaving a neat 1-inch margin at each end.
Measure the gap between your cross pieces and cut enough infill pieces to bridge the frame securely. Use a stop block clamped to your mitre saw for precise, repetitive cuts.
Attach cross and infill pieces to your bench top using pilot holes drilled with your Evolution power drill. Ensure even spacing and alignment by marking positions carefully.
Clamp your top pieces securely, and position your frame centrally on top. Drill carefully with a 12mm bit before fastening with screws, ensuring a sturdy construction.
Construct robust legs by cutting twelve 13¼-inch pieces from 4"x2" timber. Assemble into two stacks of square frames, securing them with pilot holes and screws.
Stack and secure these leg frames beneath each end of your bench frame, ensuring stability and balance.
Enhance the aesthetics with decorative frames for the legs, each piece precisely cut at a 45-degree angle. Secure these decorative elements for a polished, professional appearance.
Smooth your bench with an Evolution orbital sander, removing splinters and rough edges. Your bench, built from durable treated timber, is now ready for outdoor enjoyment!

Completing this project is incredibly rewarding and easier than you think, especially with the reliability of Evolution Power Tools. You'll enjoy your handmade bench for years, proudly knowing you've created something both practical and beautiful.
Get started today, and transform your outdoor space with your own custom-built bench!
For more inspiration and tool information, visit Evolution Power Tools.


It depends on how you’re planning to cut the timber. For example, if you need to make intricate cuts at different angles and shapes, you’d be better off with a cordless jigsaw. But, if you only need to make straight cuts, a mitre saw would do the job. If you need to cut a lot of timber at the same angle or in the same way, you may be better off using a table saw, which will allow you to cut through many pieces at rapid speed.
When you’re working with any kind of wood, it’s always advisable to use a wood blade. This is a blade that’s been specifically designed to cut wood and offer the best results, with smooth cuts and as little chipping or splintering as possible. Wood blades tend to have fewer teeth than blades that are built to cut through tougher materials, like metal, as wood is much softer and less resistant.
Cordless mitre saws will give you just as good of a performance as a corded mitre saw, without the limitations and awkwardness presented by cords. Plus, whenever power tools are involved, cords present an unnecessary safety risk that’s better avoided if you can. But what surprises most people is the power capabilities of cordless mitre saws and other cordless power tools, which prove to be just as powerful and forceful as their corded counterparts.
Mitre saws were traditionally made for cutting wood. However, thanks to modern blades, which are custom-made to deal with rugged materials, the right blade in a mitre saw can be used to cut hard metals like steel. Just be sure you’re using the correct blade, though. Using a blade that’s not designed to cut metal while cutting metal is dangerous and could result in blade damage issues or a serious malfunction