Official
Store
Store

 Cordless Tools
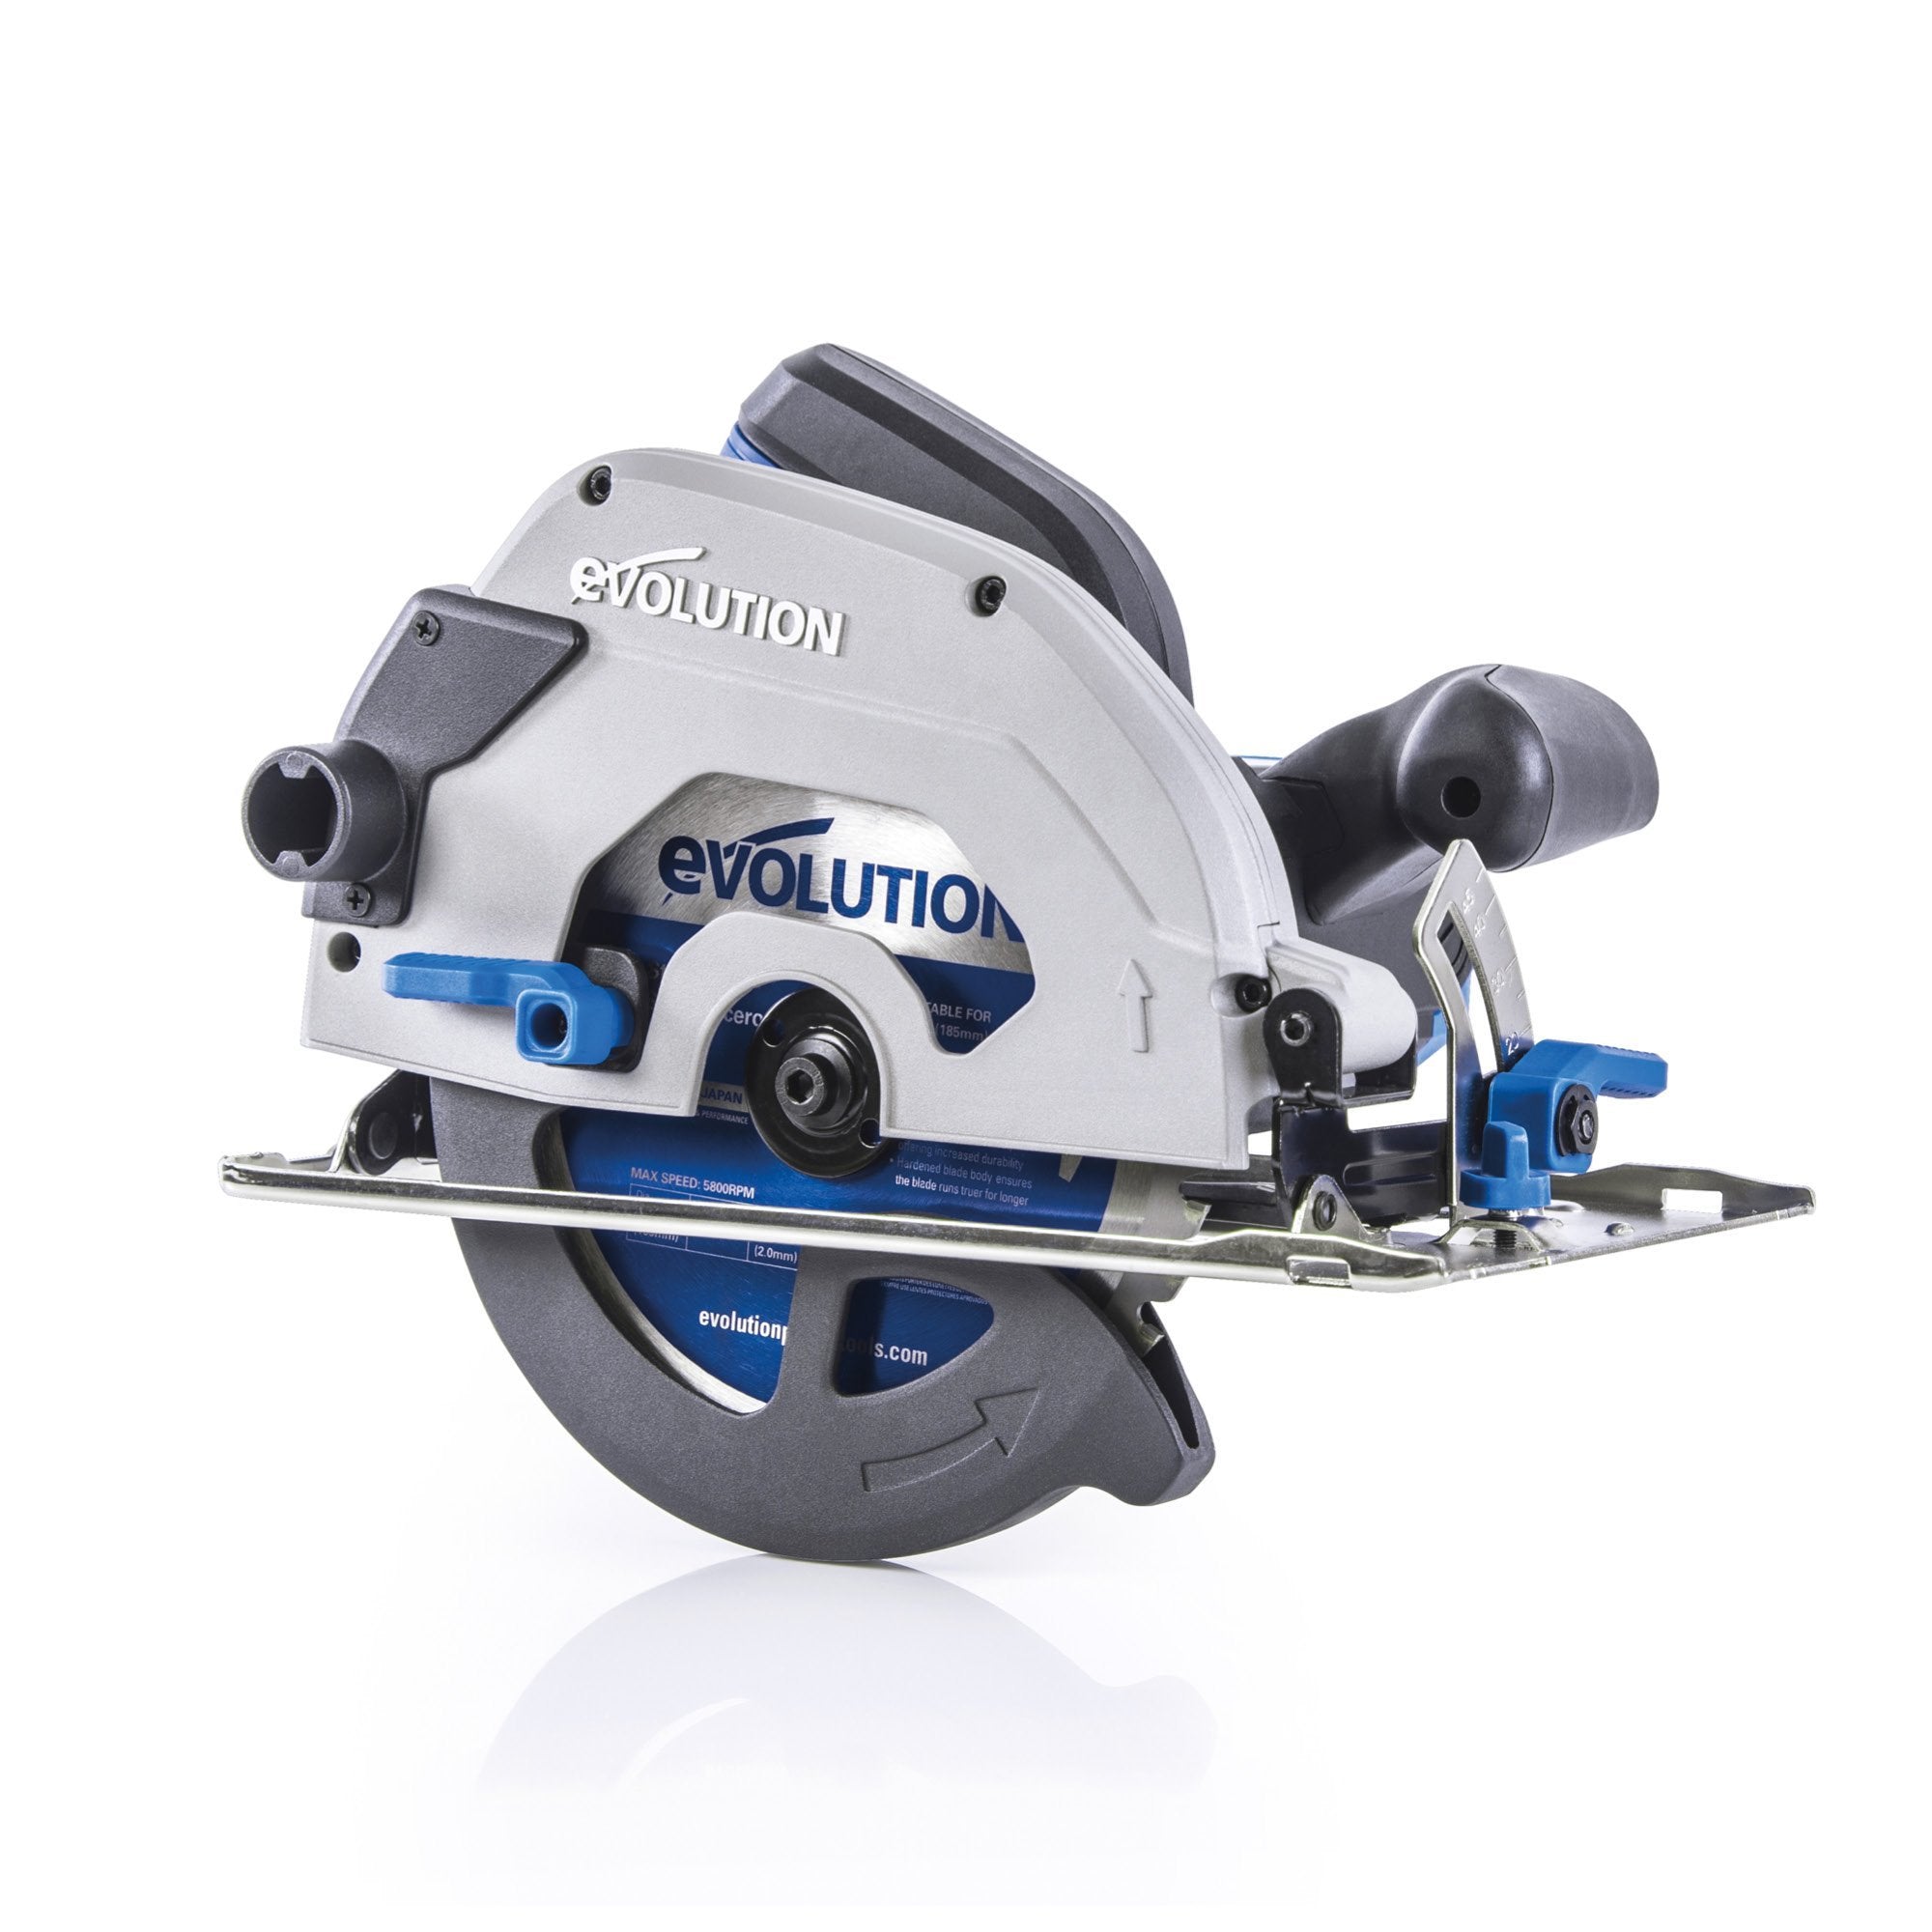
Circular Saws
Cordless Tools
Circular Saws


 Chop Saws & Accessories


 Contractor Tools
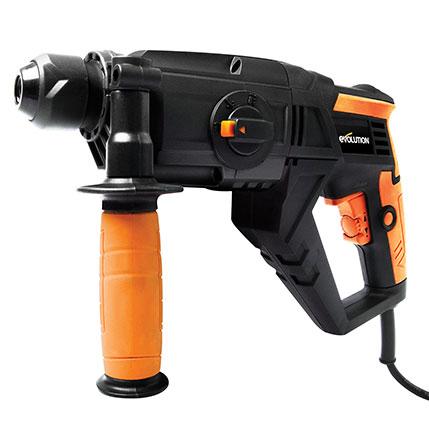
 Handheld Drills
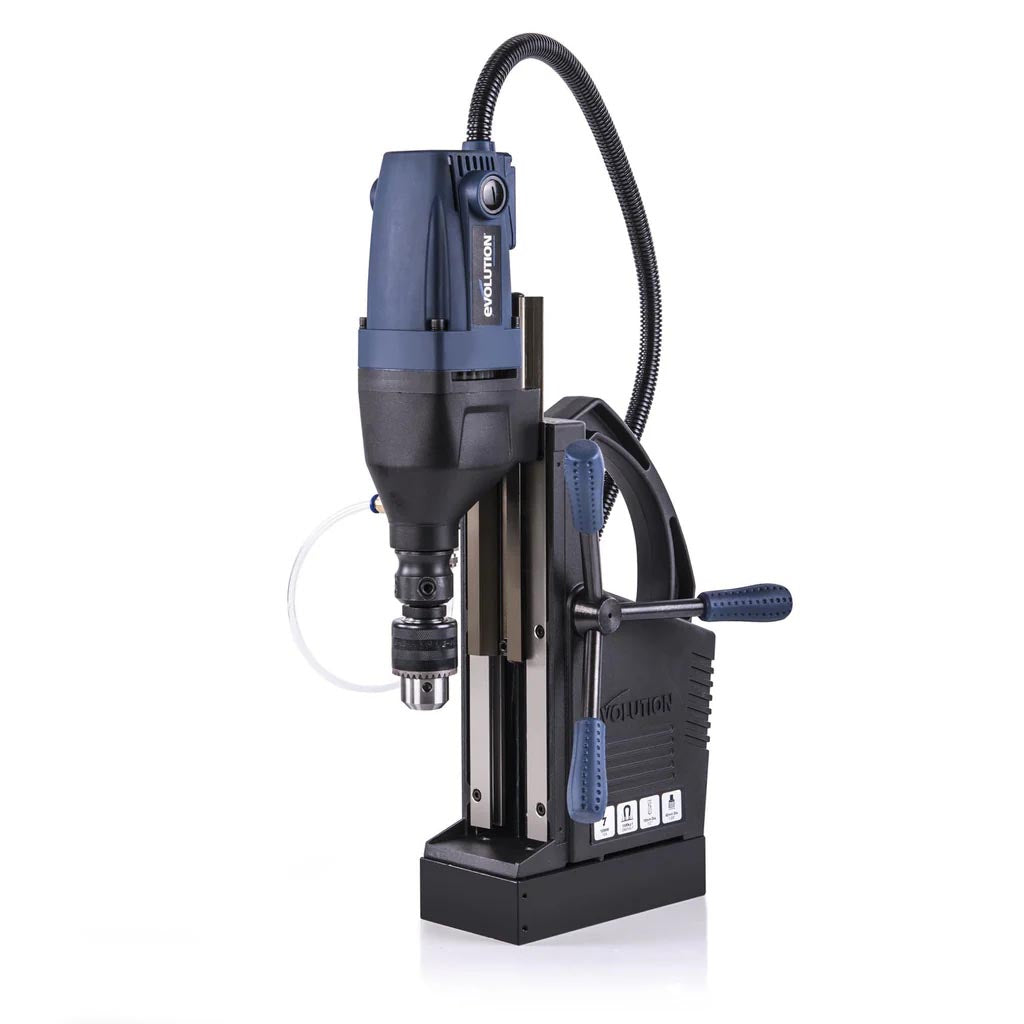 Magnetic Drills
 Mitre Saws


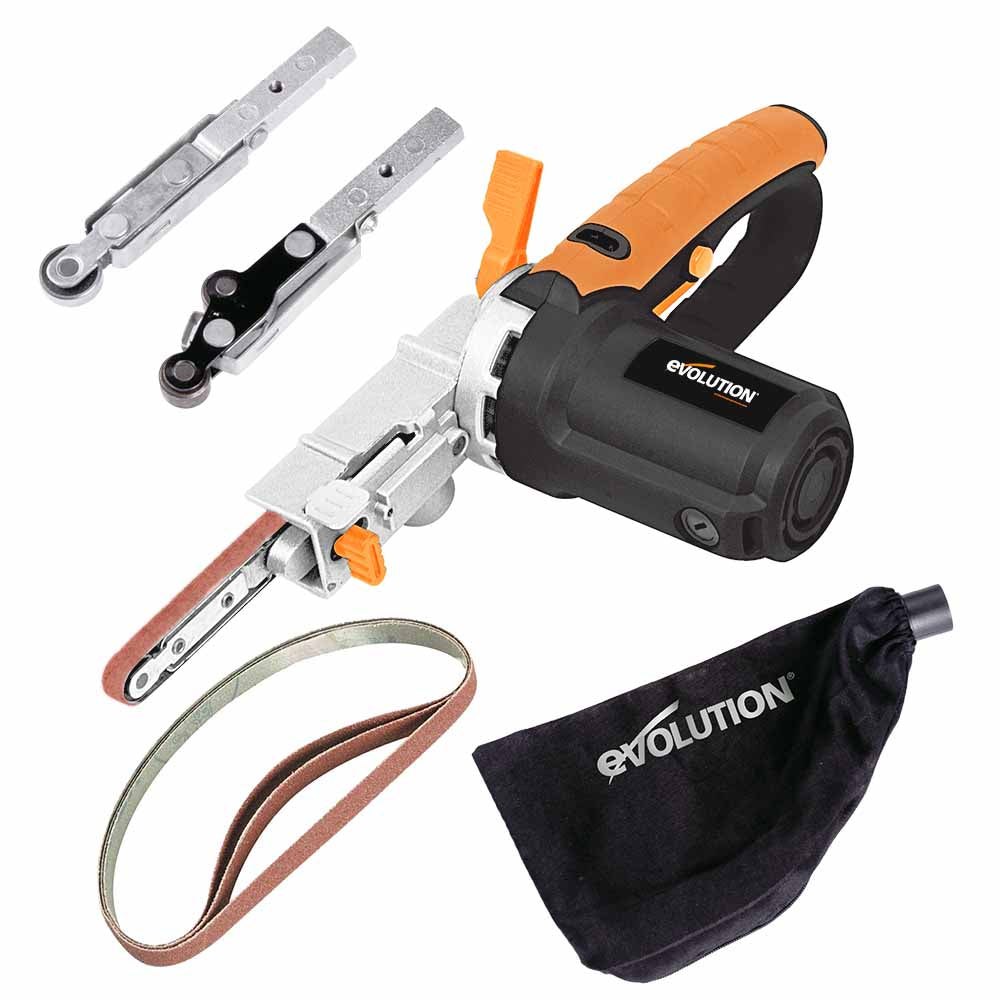
 Sanding Equipment
 Table Saws


Construction and building specialist, Chris Smith (Chris the Builder), gives us a step-by-step guide to laying a patio like a pro. Follow the video guide or download the PDF tutorial to complete this project.
A patio is more than just a place to sit—it’s an outdoor upgrade that adds style, functionality, and value to your home. With the right tools and know-how, you can lay a professional-looking patio yourself. Follow this step-by-step guide by Chris the Builder, powered by Evolution Power Tools, and get inspired to tackle this rewarding DIY project!This is an intermediate project as there are many steps to completing the patio and you may need to hire some equipment (such as a mixer) to assist you. However, if you follow this comprehensive guide, you should have no trouble at all in laying your own patio at home.
Click here to download a handy PDF guide to the patio project. Combining the PDF with the video guide (above) will give you everything you need to know to complete this project.

Before you get started, make sure you have clear access to your work zone. Remove any obstacles—like fences or gates—to ensure easy movement of materials and tools. Lay down protective tarps and have all your equipment ready to go.
Lay the hardcore base evenly and use the compactor to press it down firmly. Then, add a layer of sharp sand and screed it flat.

Good edging keeps your patio secure and prevents shifting over time. Use timber, concrete, or metal edging, ensuring everything is straight and level with a spirit level. If you need to adjust the size of any slabs to fit your layout, use an Evolution Disc Cutter for precision cutting. With water-fed dust suppression, Evolution's disc cutters keep dust to a minimum, making your work cleaner and safer.
Now for the exciting part! Start from one corner and work across the area. Place slabs onto the sand bed and tap them gently with a rubber mallet to secure them. Keep gaps even by using spacers or following a pattern.
If a slab needs trimming for a perfect fit, use an Evolution Disc Cutter for clean and accurate cuts. Its high-torque motor and ergonomic design make cutting through tough materials effortless.
Pro Tip: Dry-lay your slabs first to ensure you’re happy with the layout before committing to the final placement.

Once all slabs are in place, fill the joints with a jointing compound to lock them together and prevent weeds. Brush off excess and wash down the slabs. For a long-lasting finish, apply an acrylic sealer to protect against weather damage.
Give your new patio a final sweep and wash to remove any remaining debris. Stand back, admire your work, and start planning how you’ll furnish your brand-new outdoor space!

To make this project easier, equip yourself with the right tools. Evolution Power Tools offers everything you need, from disc cutters for precise slab shaping to compactors that ensure a rock-solid foundation.
👉 Check out our full range of tools at Evolution Power Tools and get started on your next project today!
Share your finished patio with us! Tag us on social media with #EvolutionPowerTools for a chance to be featured.
Click here to download a handy PDF guide to the patio project. Combining the PDF with the video guide will give you everything you need to know to complete this project.
Click below to see our interview with Chris and find out more about him and his background.