Official
Store
Store

We show you how to transform your living space with this easy DIY radiator cover project. In this guide, award-winning engineer Ruth shows you how to build a simple, slatted, wooden radiator cover. Our cover design hides your radiator, adds a decorative modern touch to your room, and is designed to ensure you still get good heat efficiency, using Evolution cordless power tools.
This project is great for beginners and can be customised to fit any radiator size.

Start by measuring your radiator’s width, height and depth, ensuring you measure from the floor, leaving space above the radiator and taking into account the valves on the sides.
Ruth’s radiator measured 1.2m x 70cm, but yours may be different. Adjust your timber lengths accordingly to make sure the frame fits neatly over your radiator. The timber battens Ruth used were: four 18 x 44mm and thirteen 18 x 28mm, all 2.4m in length.
Using a Mitre Saw, cut your timber to size.
Pro Tip: Always double-check your measurements before cutting.

Lay out the cut pieces on a flat surface to form a rectangular frame.
Secure the frame together with screws or nails.


Once your frame is ready, fix the front slats evenly across the cover with nails or screws. These give your radiator cover its decorative finish while allowing heat to pass through. Use spacers or a scrap piece of wood to keep gaps even between slats.
Fill any screw holes with wood filler, then lightly sand for a smooth surface. Finish with a coat of paint or wood stain to match your decor. A small roller works best for even coverage.
Position your finished cover over the radiator to check the fit. You can leave it freestanding or fix it to the wall for added stability.


This project was built using Evolution cordless tools:
Explore the full Evolution cordless range to tackle your next DIY project with ease.

For more DIY project guides like this, browse The Maker's Hub here.
Yes, radiator covers that are not designed with enough ventilation can reduce heat circulating around the room. Our modern,slatted design means that there is adequate airflow to allow for maximum heating efficiency.
They can hide unsightly old radiators and improve the overall aestetic of a room. They can act as a safety barrier from very hot radiators, and depending on the design, they can give added shelf space.


Why move the material when you can move the saw? Discover how Evolution's innovative Metal Cutti...
July 22, 2026

Metal fabrication covers anything from intricate metal art, creating sturdy bridge girders, to tr...
July 08, 2026

A three-day garden transformation that became something far more meaningful. Follow Zoe’s story a...
April 27, 2026

Cutting concrete and masonry is never a "one size fits all" job. Whether you’re trying to keep th...
April 02, 2026

Concrete cutting puts serious demands on your tools. We break down the differences between disc c...
February 24, 2026

A rebrand isn’t just about how things look. It’s about how they feel - to the people who use them...
February 18, 2026

You might notice something different about us. We’re excited to reveal a fresh new look and an am...
February 04, 2026

Our motto says it all: “One saw, one blade, cuts all.” Let’s dive into what makes our multi-mater...
December 16, 2025

A staple saw for both trade professionals and DIY enthusiasts tool kits, we dive into the circula...
December 11, 2025

A simple and colourful DIY project - learn how to build a three-tier hanging indoor planter using...
November 26, 2025

A quick and stylish DIY project that will modernise the look of your room - learn how to easily i...
November 20, 2025

Our experts go back to basics on how to use a circular saw. This beginner's guide includes what a...
November 20, 2025

We show you how to transform your living space with this easy DIY radiator cover project. In this...
November 15, 2025

November 13, 2025

Build a stylish DIY sofa table using Evolution cordless tools. Ruth shows you how to create a pra...
November 13, 2025

August 26, 2025

Owning a table saw can revolutionise your workshop and any serious woodworker or DIY’er will even...
July 23, 2025

The R260DCT-Li isn’t just another cordless disc cutter—it’s a serious tool for serious trades. In...
July 11, 2025

We teamed up with Liam & Nici from Two Houses Into One to show you how to build a garden fort...
July 10, 2025

Build a DIY wooden teepee for kids using decking boards and CLS timber. A beginner-friendly outdo...
June 11, 2025

Ready to turn your garden into a creative outdoor play space? This Kids Mud Kitchen project is th...
June 09, 2025

Build a sturdy mini picnic bench for kids with this beginner-friendly DIY guide. Step-by-step ins...
June 03, 2025

May 15, 2025

When you put the new R260DCT-Li Battery Powered Cordless Disc Cutter up against some of the bigge...
April 28, 2025

Whether you’re a seasoned professional or a DIY enthusiast, choosing the right disc cutter can gr...
April 24, 2025

Looking for the perfect disc cutter? Whether you're cutting bricks, concrete, metal, or stone, ch...
March 04, 2025

Construction and building specialist, Chris Smith (Chris the Builder), gives us a step-by-step gu...
March 02, 2025

Vikkie Lee shows us the steps to build your own garden shed with ease using Evolution Power Tools.
February 27, 2025

Woodworker, DIYer and Designer, Hannah Ashton (HKA Create) shows us how to build a garden trellis...
January 27, 2025

Create your own beautiful and durable outdoor wooden bench with this easy step-by-step guide by f...
November 01, 2024

September 06, 2024

March 07, 2024

March 04, 2024

September 06, 2023

August 02, 2023

August 02, 2023

August 02, 2023

August 02, 2023

March 30, 2023

March 14, 2023

 Mitre Saws
 Table Saws


 Circular Saws
 Chop Saws

 Disc Cutters / Concrete Saws
 Contractor Tools


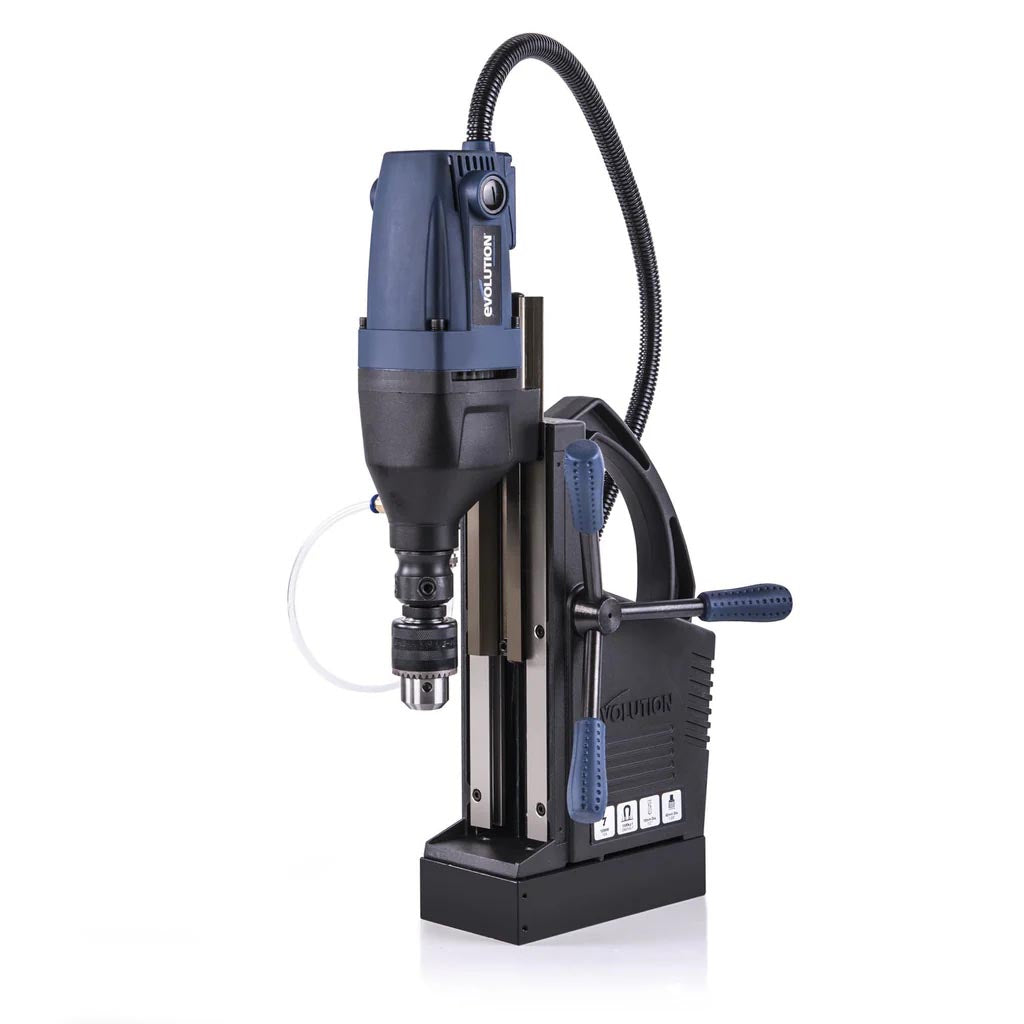 Magnetic Drills
 Sanding Equipment


 Mag Drill Cutters


