Official
Store
Store

 Cordless Tools
Circular Saws
Cordless Tools
Circular Saws


 Chop Saws & Accessories


 Contractor Tools
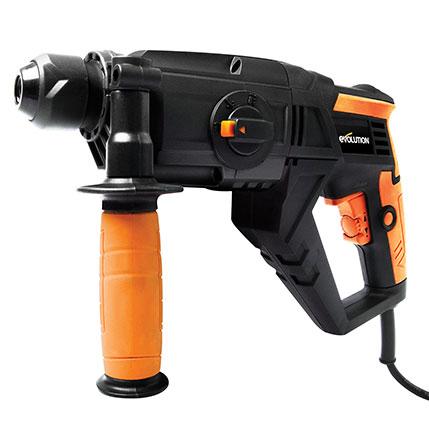
 Handheld Drills
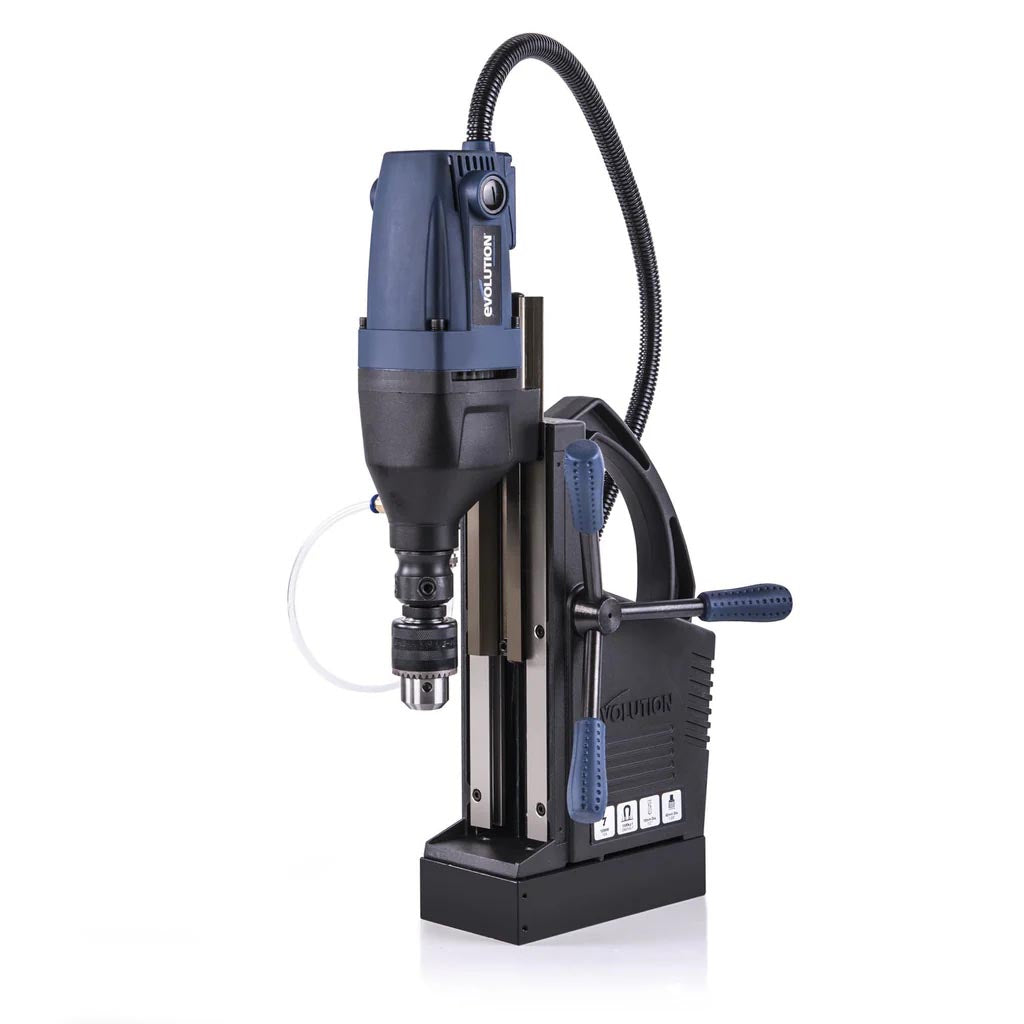 Magnetic Drills
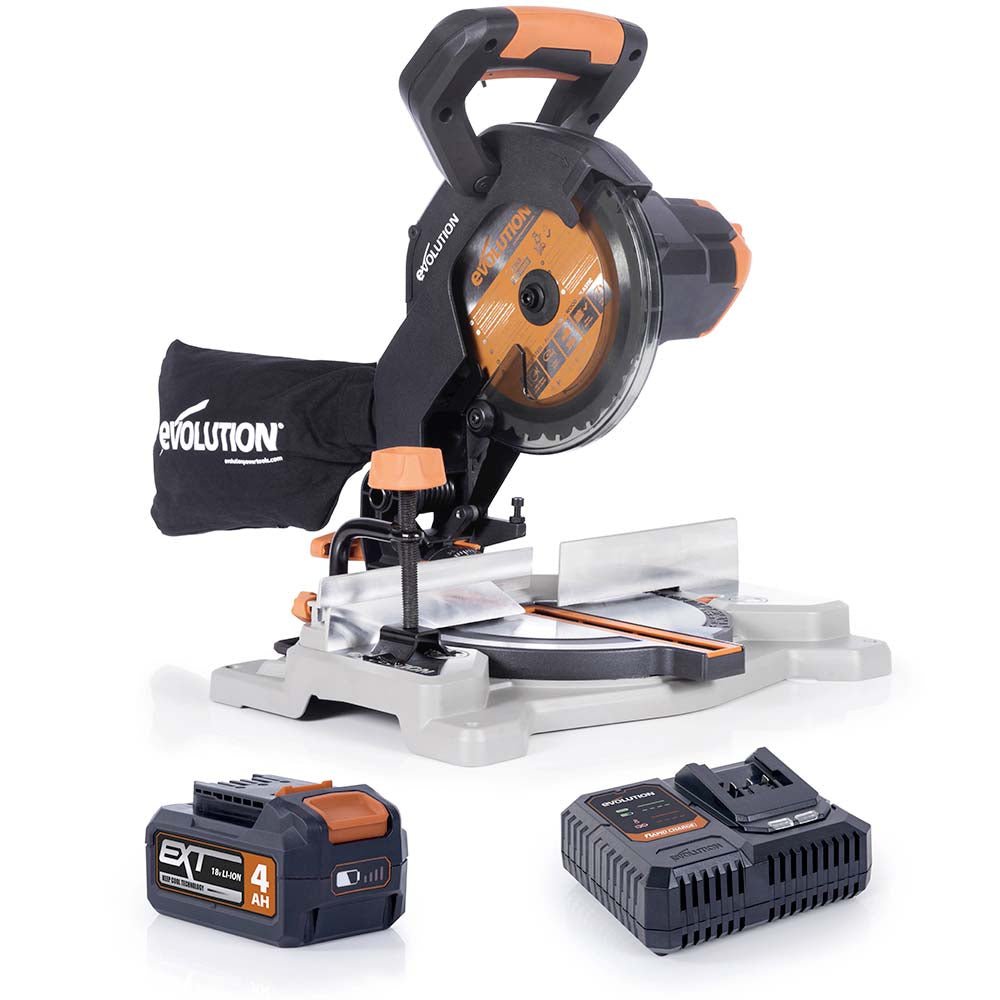
 Mitre Saws


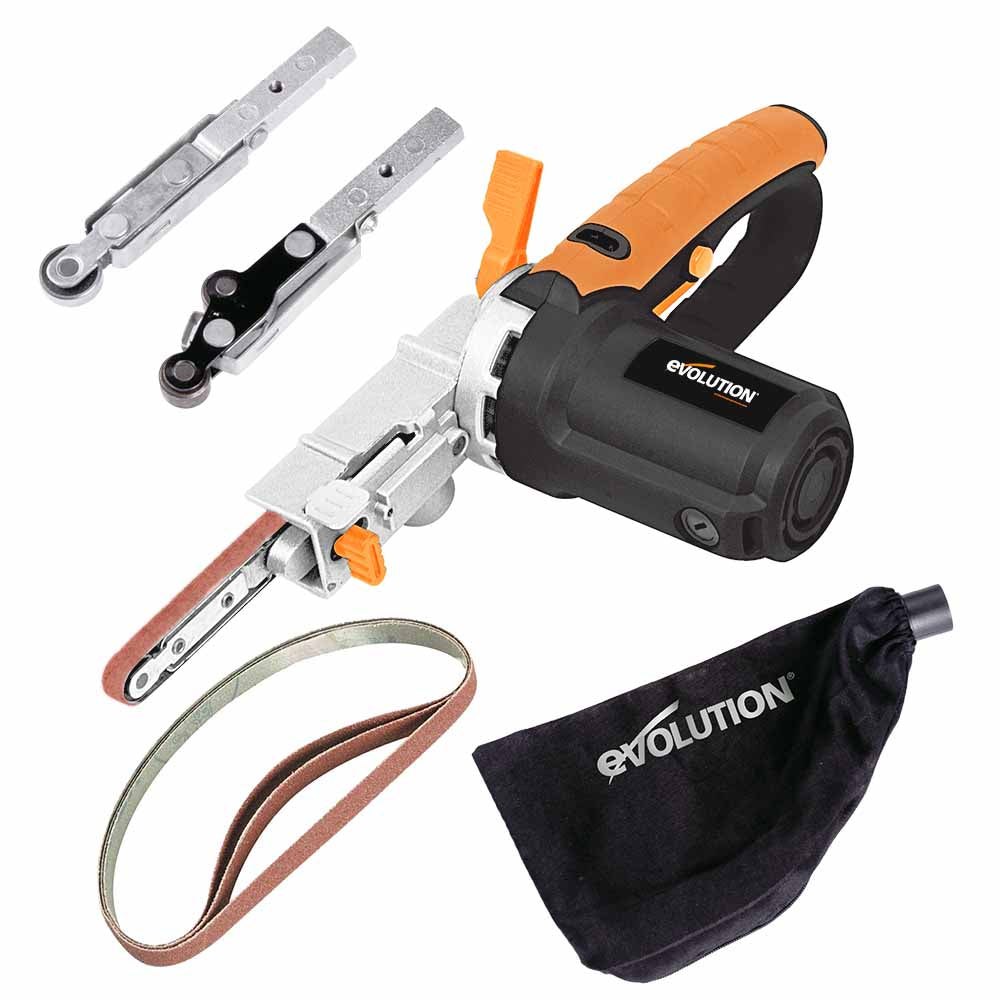
 Sanding Equipment
 Table Saws


A simple and colourful DIY project - learn how to build a three-tier hanging indoor planter using circular wooden shelves cut with a jigsaw.
Plant hangers are a brilliant way to add greenery to your home without taking up space on your surfaces. In this project, Ruth shows you how to create a colourful three-tier hanging planter using circular shelves cut with a jigsaw.
It’s a fun, beginner-friendly DIY that only requires a few tools and some rope.
Start by marking out three circles on your timber boards.
Ruth’s hanging planter has 3 tiered levels, getting smaller towards the top.
You can draw around each plant pot or use any round object that works for your pots. The pots will fit better if the shelves are slightly bigger than the pots.
Cut each circle using your jigsaw, taking your time around curves.


Once your circles are cut, mark out where your role will run through each shelf.
Each shelf needs a different number of holes:
Using a ruler and pencil, locate the centre of each circle, then measure and mark the hole positions around the edge.
Drill pilot holes first followed by a larger drill bit sized for your rope. Keeping your holes evenly spaced is key to making sure the planter hangs level and balanced.


After cutting and drilling, sand all faces and edges of each circle.
Ruth primes her wood and paints her shelves three different colours to create a bright, layered look. Paint both sides and let each shelf dry fully. Apply a second coat if needed.
Here's some other options:
Cut three equal lengths of rope and tie a knot at one end of each.
Thread each rope up through the holes in the bottom shelf, pulling the knots tight underneath so the shelf is supported.
Next, feed the ropes up through the matching holes in the middle shelf.
Decide the spacing you want between the two tiers, then tie new knots underneath the middle shelf to hold it in place. Trim any excess.
Cut three new lengths of rope, tie knots at the ends, and thread them up through the remaining holes in the middle shelf.
Repeat the same process to support the top shelf, tying knots underneath and adjusting the spacing so all shelves hang evenly.
Once all tiers are secure, bring the ropes together at the top.
You can tie them into a single large knot or add an extra piece of rope to create a neat loop or hook for hanging.


Choose a strong spot in your ceiling and drill a fixing hole.
Insert your wall plug if needed, then screw in your ceiling hook until secure.
Make sure it can take the weight of:
Finally, loop the rope over the hook and check that everything sits level.

Place small indoor plants onto each shelf.
This planter works best with:
Adjust the spacing between shelves to give taller plants more room.
And that’s it - your colourful hanging planter is ready to brighten your space.