Official
Store
Store

 Cordless Tools
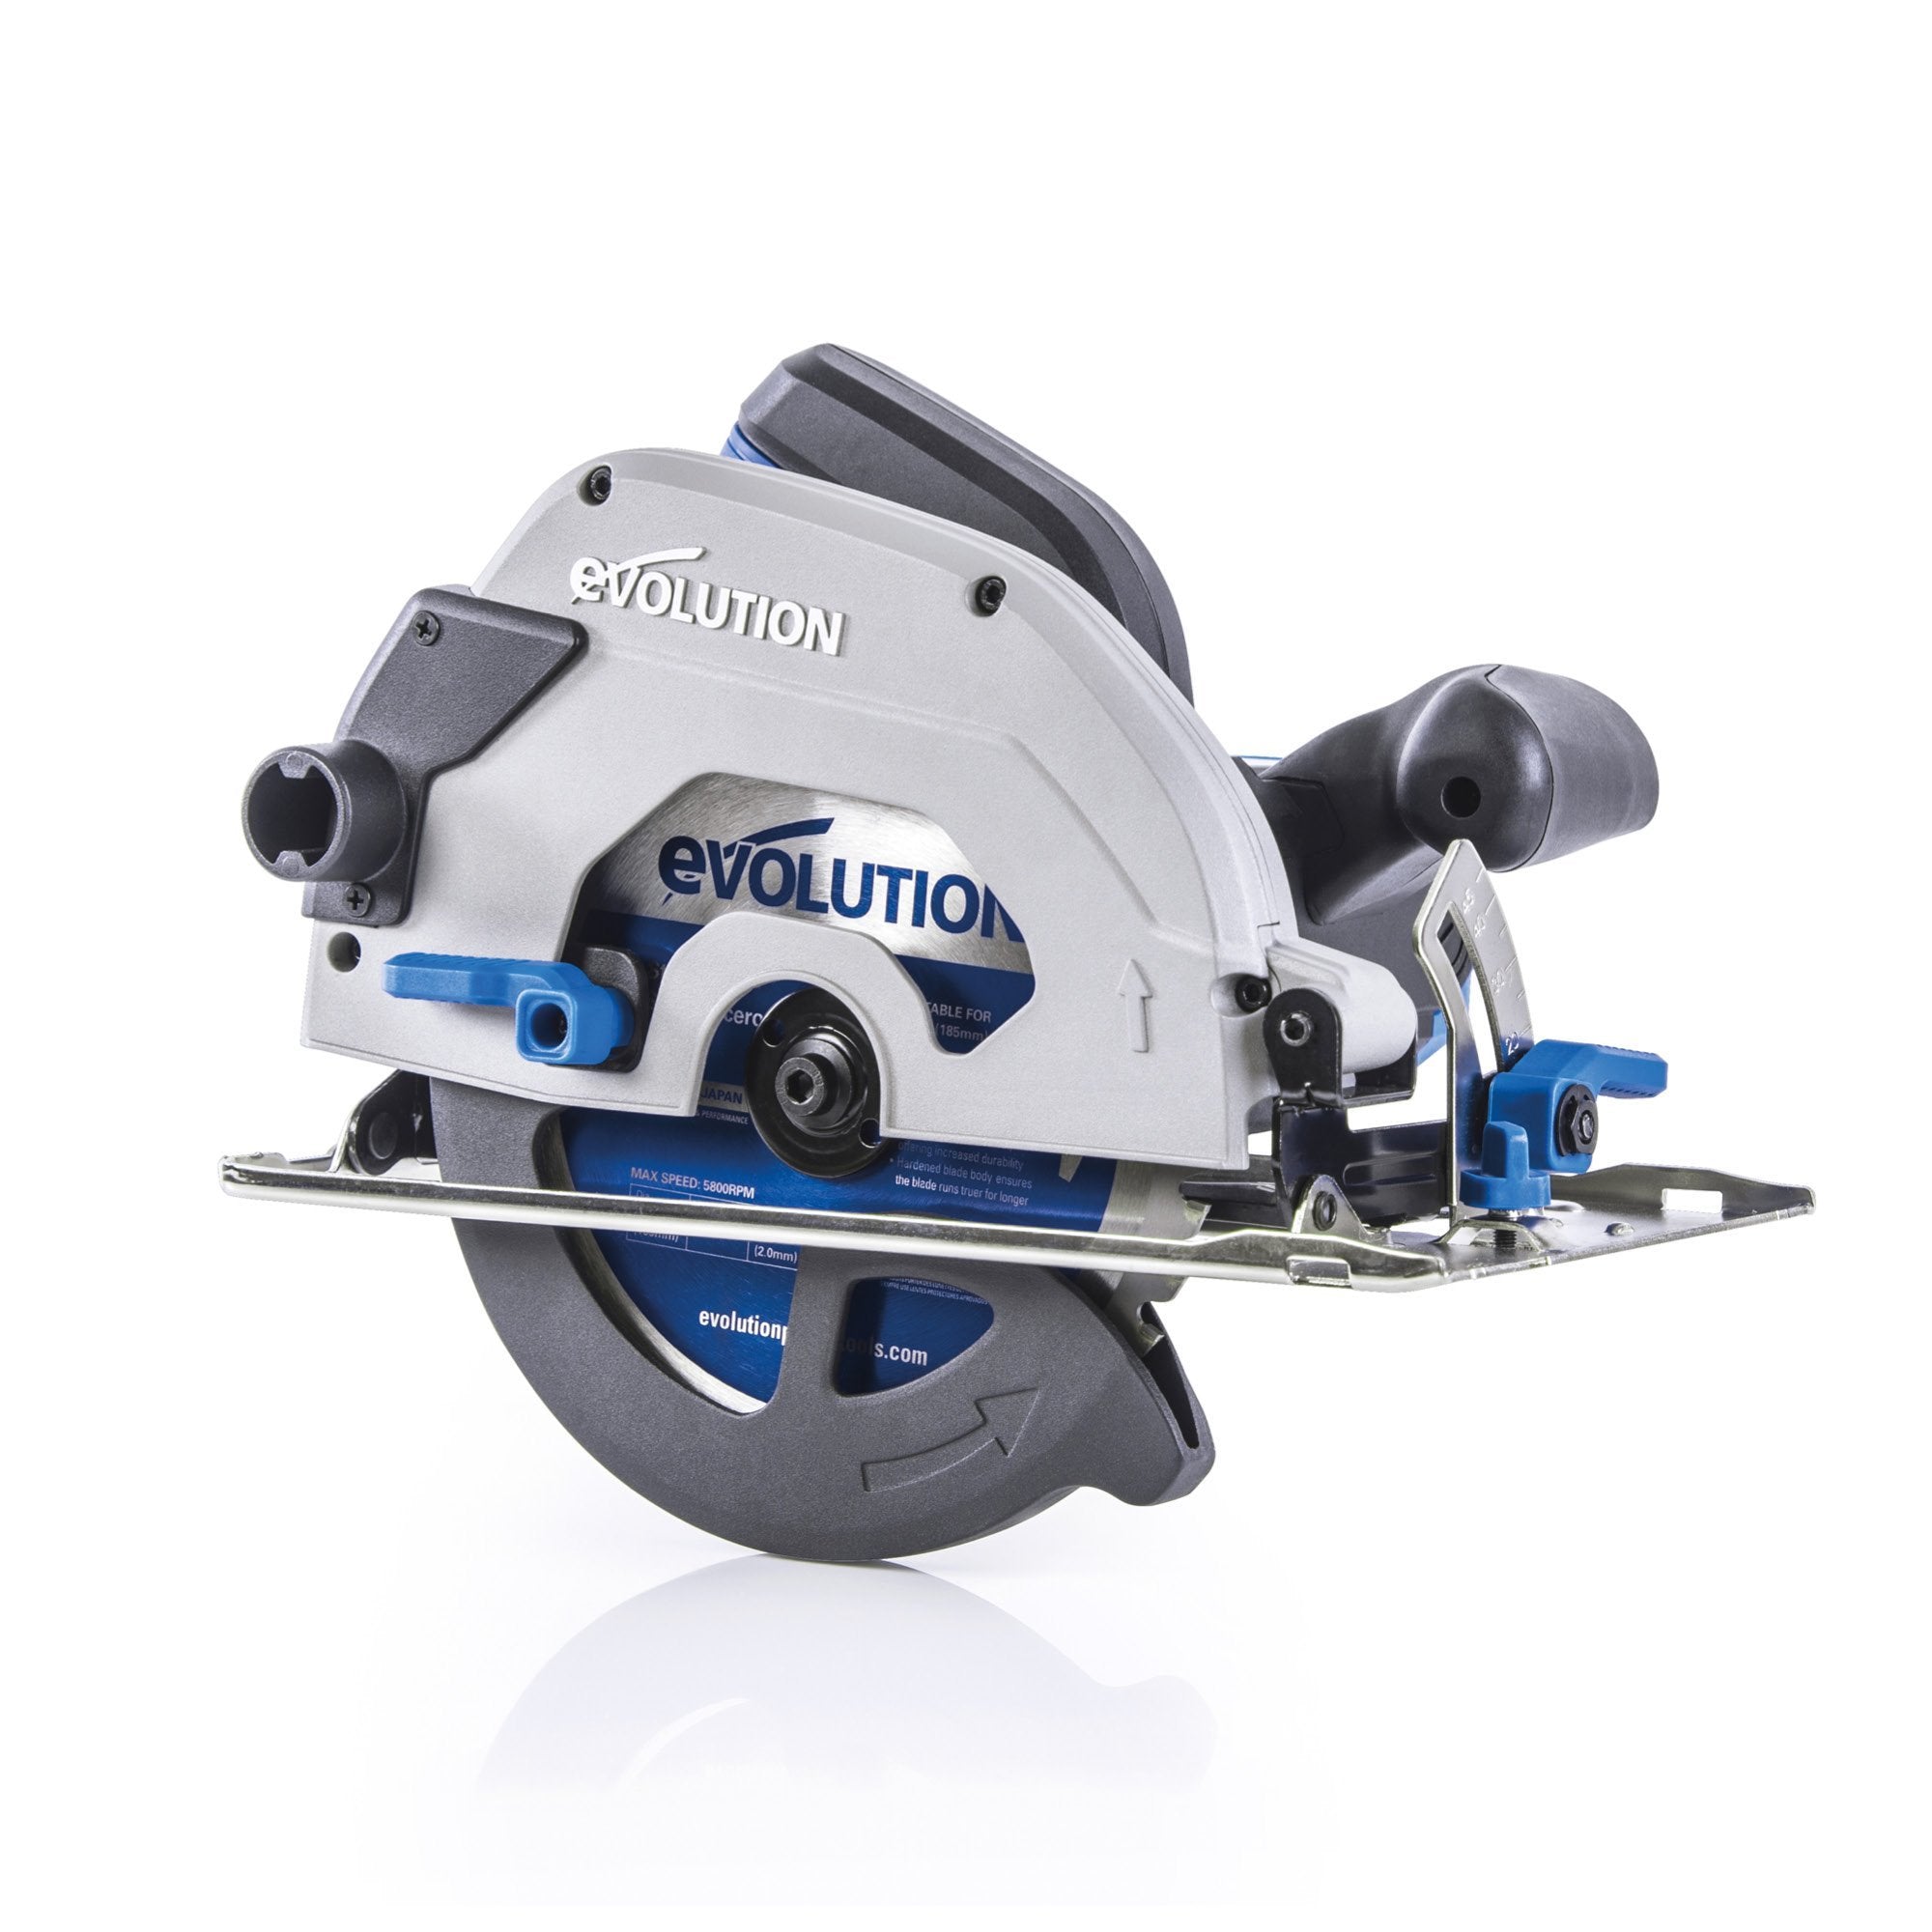
Circular Saws
Cordless Tools
Circular Saws


 Chop Saws & Accessories


 Contractor Tools
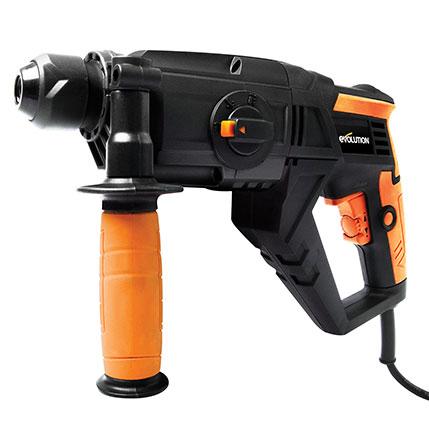
 Handheld Drills
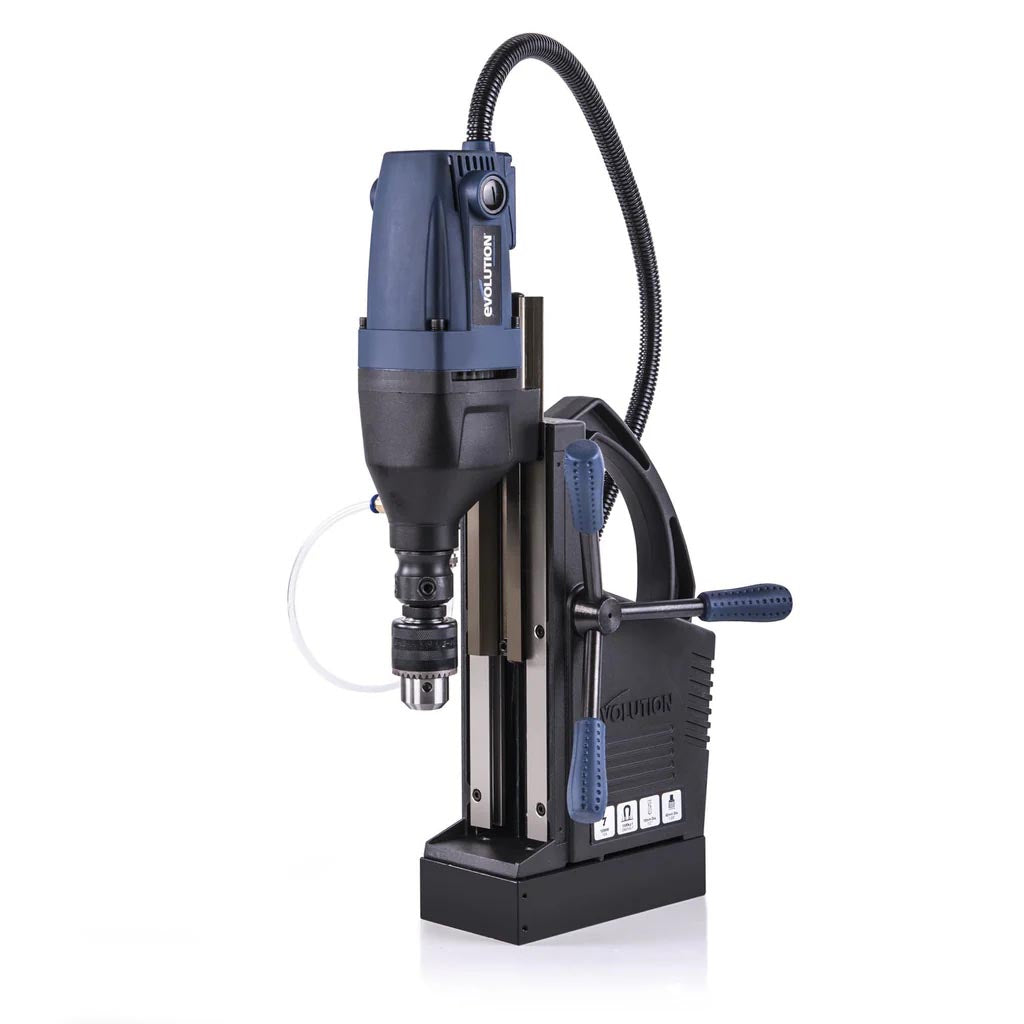 Magnetic Drills
 Mitre Saws


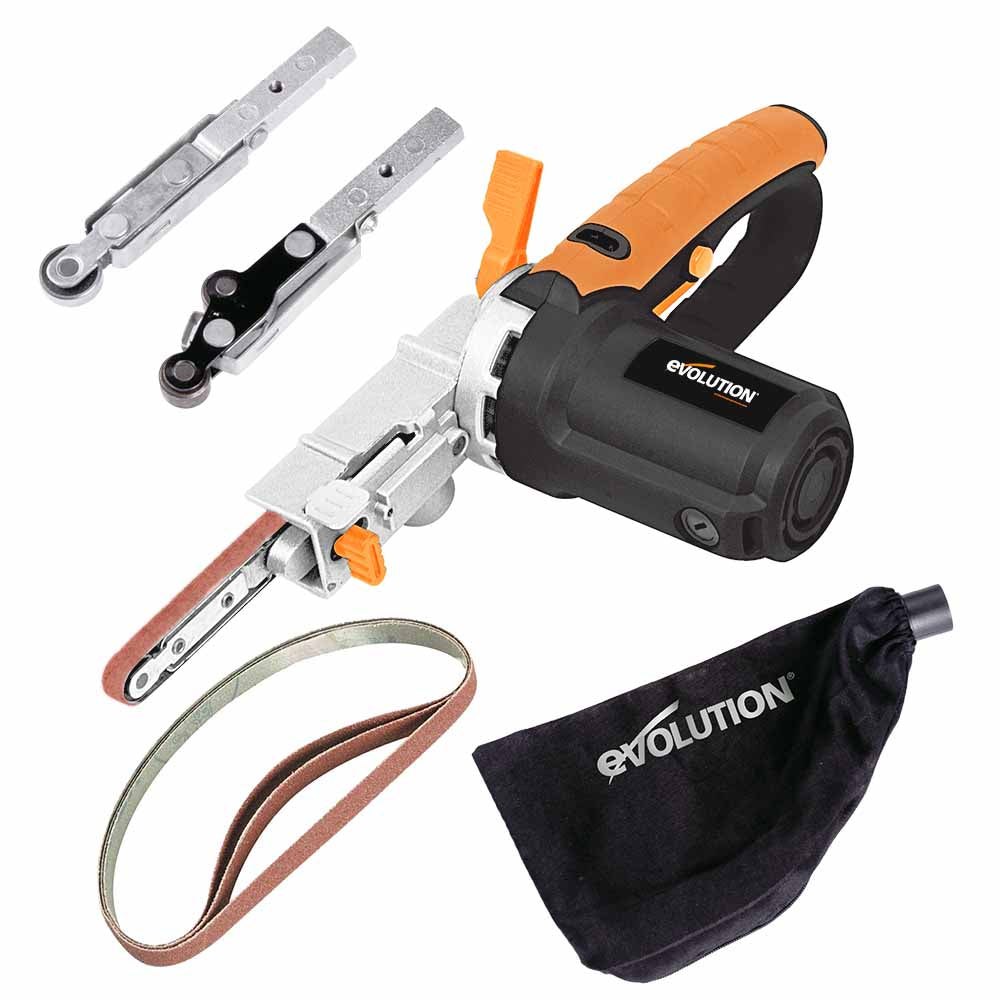
 Sanding Equipment
 Table Saws


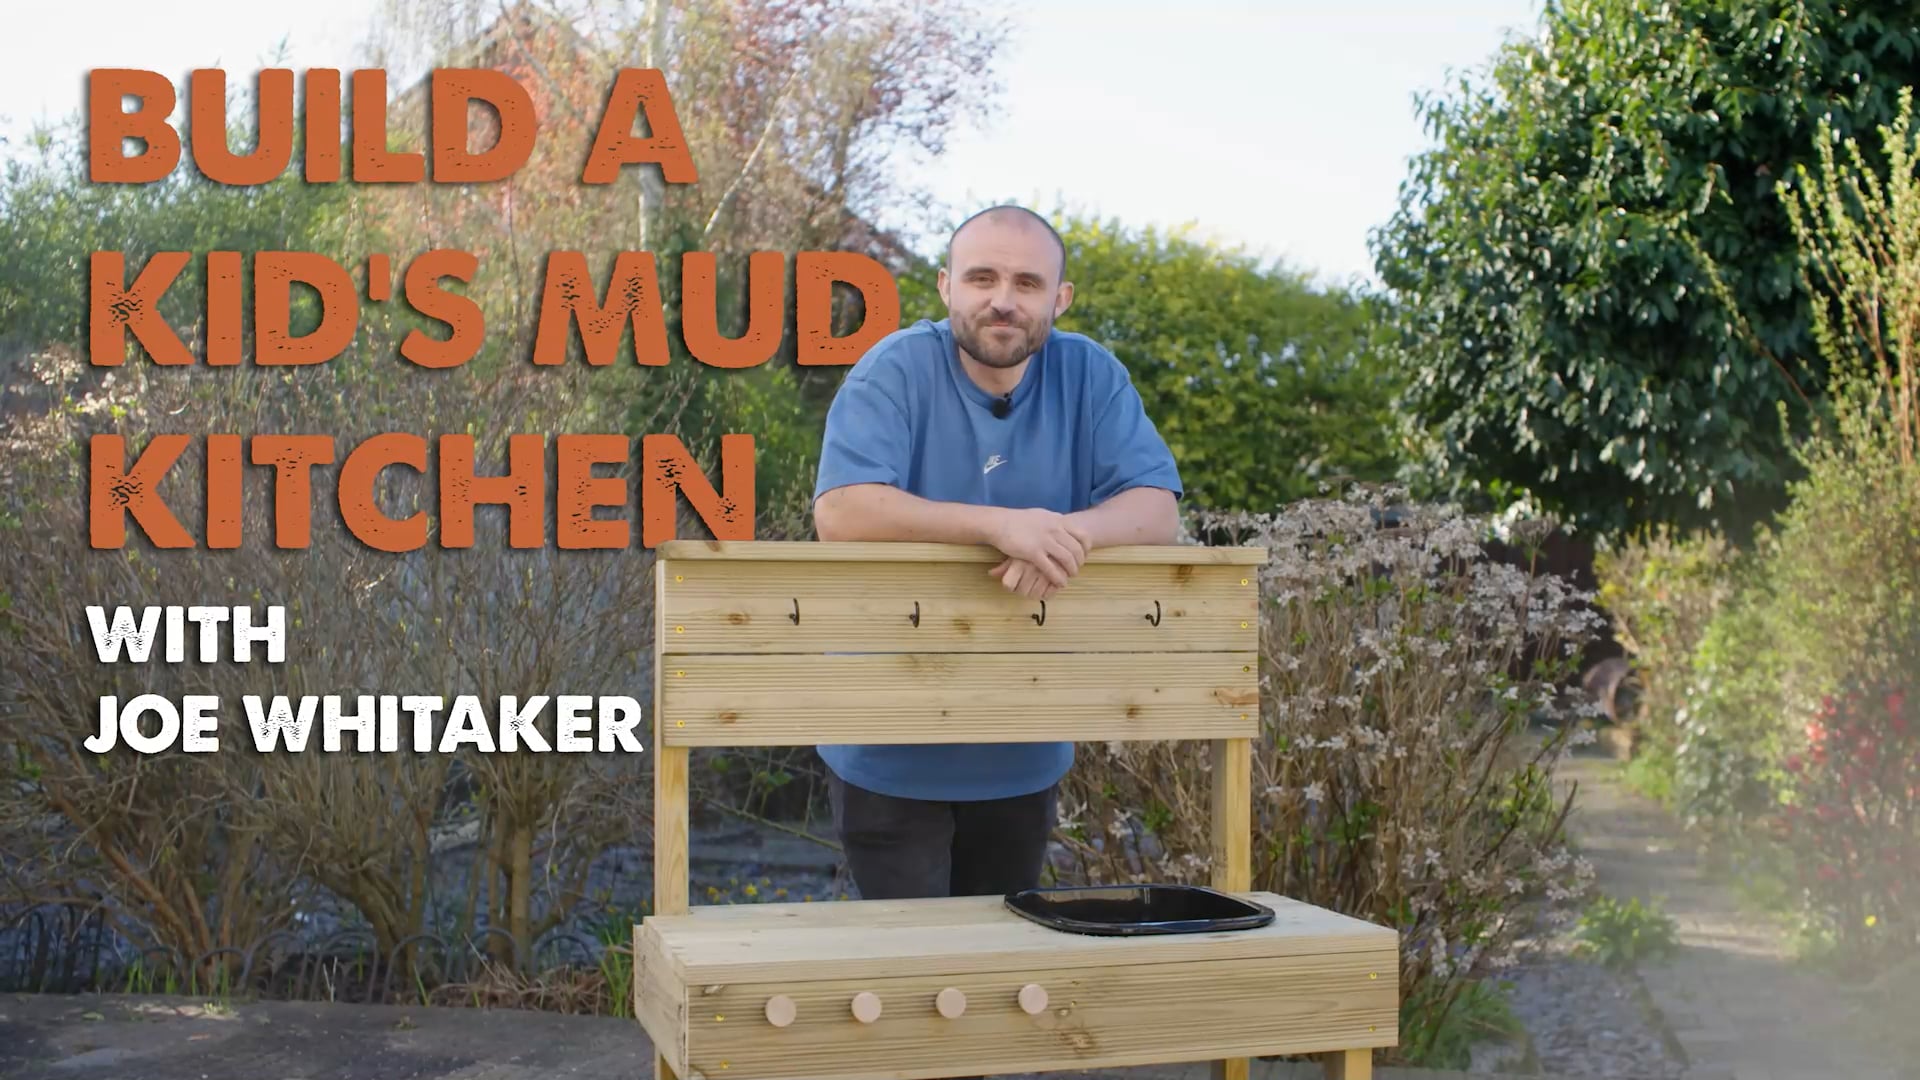
Ready to turn your garden into a creative outdoor play space? This Kids Mud Kitchen project is the perfect weekend build - and if you're well-prepared, you could even complete it in a single afternoon. Designed with little chefs in mind and built to last, it's a fun, family-friendly project.
Ready to turn your garden into a creative outdoor play space? This Kids Mud Kitchen project is the perfect weekend build - and if you're well-prepared, you could even complete it in a single afternoon. Designed with little chefs in mind and built to last, it's a fun, family-friendly project.
Made from just a few standard timber boards and powered by Evolution tools, this project is ideal for beginner DIYers who want to create something playful and super rewarding.
Watch the video below for a detailed step-by-step guide with Joe Whitaker. There are some notes and diagrams below for extra help.
💡 Full cutting list and dimension diagrams are available below to guide every step
Cut all pieces to size using your mitre saw.
Frame pieces, slats, uprights, and backboard components are all labelled in the cutting plan below.


Start by building the side frames using your pre-cut lengths. Secure with screws and glue for strength.

Attach the two side assemblies together with horizontal slats at the front and back you'll have a cross section at the top and bottom.

Add some cross supports for the worktop slats to sit on and to support the washing up bowl. Then use a jigsaw to cut a hole in the worktop slats that fits your washing up bowl. Remember to test-fit the plastic tub and don't cut the hole too small as you want the tub's rim to overhang so it doesn't fall through the hole.

Measure the back frame and then cut 3 horizontal planks from the decking boards. Attach the planks to the back frame to form the backboard. This is great for adding hooks to hang utensils.


This DIY Kids Mud Kitchen is more than just a fun project - it's a way to create lasting memories and give children a space to explore, imagine and play outdoors. With just a few tools, some standard timber and a free afternoon, you can build something that's both practical and playful. So fire up your Evolution tools, grab your plans and get building!