Official
Store
Store

 Cordless Tools
Circular Saws
Cordless Tools
Circular Saws


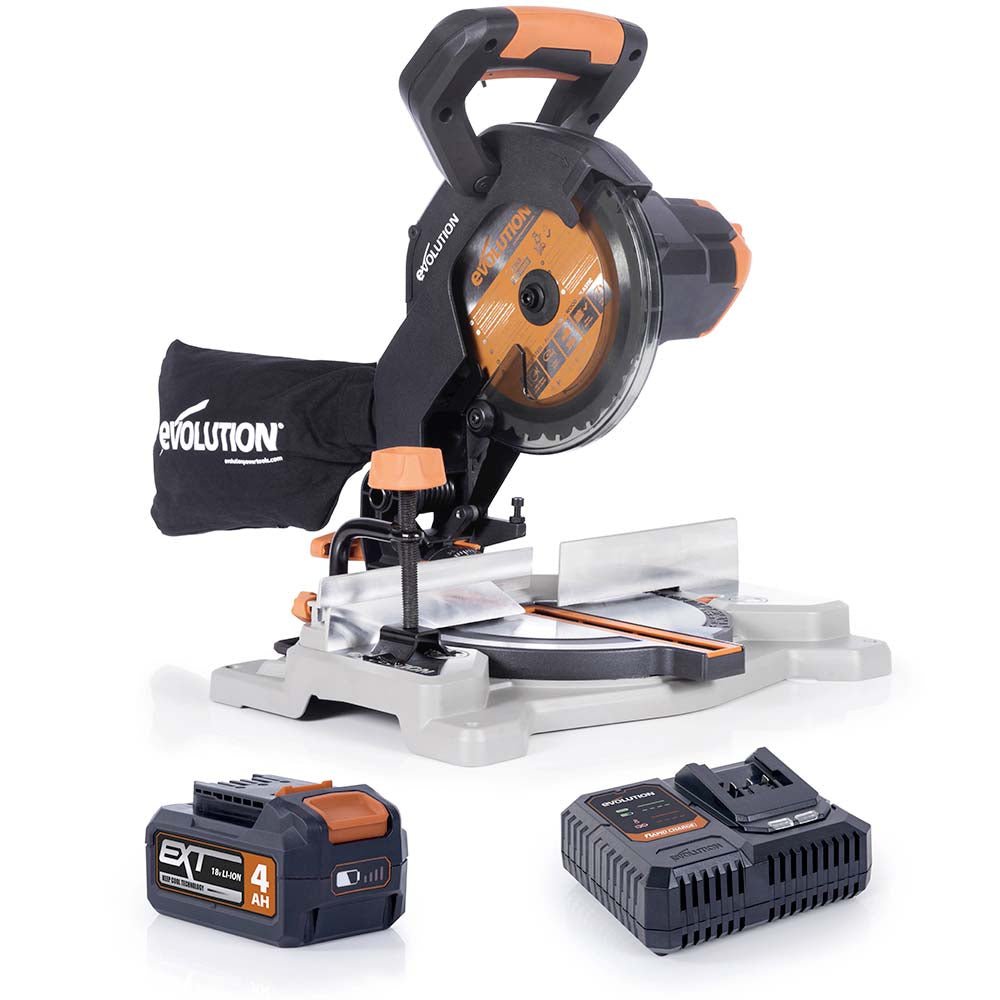
 Chop Saws & Accessories


 Contractor Tools
 Handheld Drills
 Magnetic Drills
 Mitre Saws


 Sanding Equipment
 Table Saws


A quick and stylish DIY project that will modernise the look of your room - learn how to easily install MDF wall panelling using slot-together sheets. Expert engineer Ruth Amos shows you how to fix, fill and finish a modern panelled feature wall with ease.
Wall panelling is one of the easiest ways to transform a room. A popular interior design trend, it adds texture, character and a premium finish to any room. In this quick and easy project, Ruth shows you how to install full MDF panelling sheets that slot together to form a clean, vertical design. It’s a fast, beginner-friendly method that requires minimal cutting and creates an instant feature wall that transforms your room.
Ruth also adds an optional gallery-shelf style picture rail to complete the look - perfect if you want a more traditional finish.
Start by clearing the space where you plan to add the panelling. Measure the full width and height of the wall you’ll be panelling.
This tells you:

Most slot-together MDF panelling sheets come pre-cut to standard heights. If yours are slightly too tall:
As our houses are all different, and walls are rarely perfectly straight, you need to find the middle of the wall using a tape measure; often known as a plumb line, this is where you’ll start the first panel. Before using any adhesive, position your first panel against the wall. Mark the wall with pencil once you’re happy with the position.
Check that it is:
This first panel determines the straightness of the whole wall, so take your time, and measure it twice if you’re unsure!

Once you’re happy with the position, apply a strong adhesive to the back of the panel. Press it firmly onto the wall.
Then secure it in place using a nail gun - this holds the panel steady while the adhesive cures.
Top Tip: Be sure to nail along the thicker parts of the panel to avoid splitting.

Slide the next MDF sheet into the groove of the first one. These particular panels are designed to interlock, creating perfectly spaced vertical battens automatically - no separate pieces needed.
Check the vertical alignment with a spirit level, then:
Repeat this process across the entire wall.
If your end panels need cutting down, to get a straight cut, use a circular saw with a track (if you don’t have a circular saw, you can use a jigsaw).

If your wall has any plug sockets, before applying any adhesive to the piece, you’ll need to align your panelling and draw around them, then cut these sections out using a jigsaw.

If you want a more decorative finish, add a picture rail along the top of the panels.

Once all panels and the picture rail are installed:
This step makes your wall look like one continuous, professionally installed panel.

Use caulk to seal:
Caulking hides small imperfections and creates a clean, finished look. You can smooth any bumps in fresh caulk with a wet finger or use a specific caulking tool. Let the caulk dry before painting.

Once everything is filled, sanded and caulked:
This type of panelling looks great in dark, rich colours or soft neutrals - whatever suits your room and taste.
And that’s it - a full feature wall completed in just a few hours!


If you’ve followed this guide to install your own wall panelling, feel free to tag us on social media, find us on Facebook and Instagram.