Official
Store
Store

 Cordless Tools
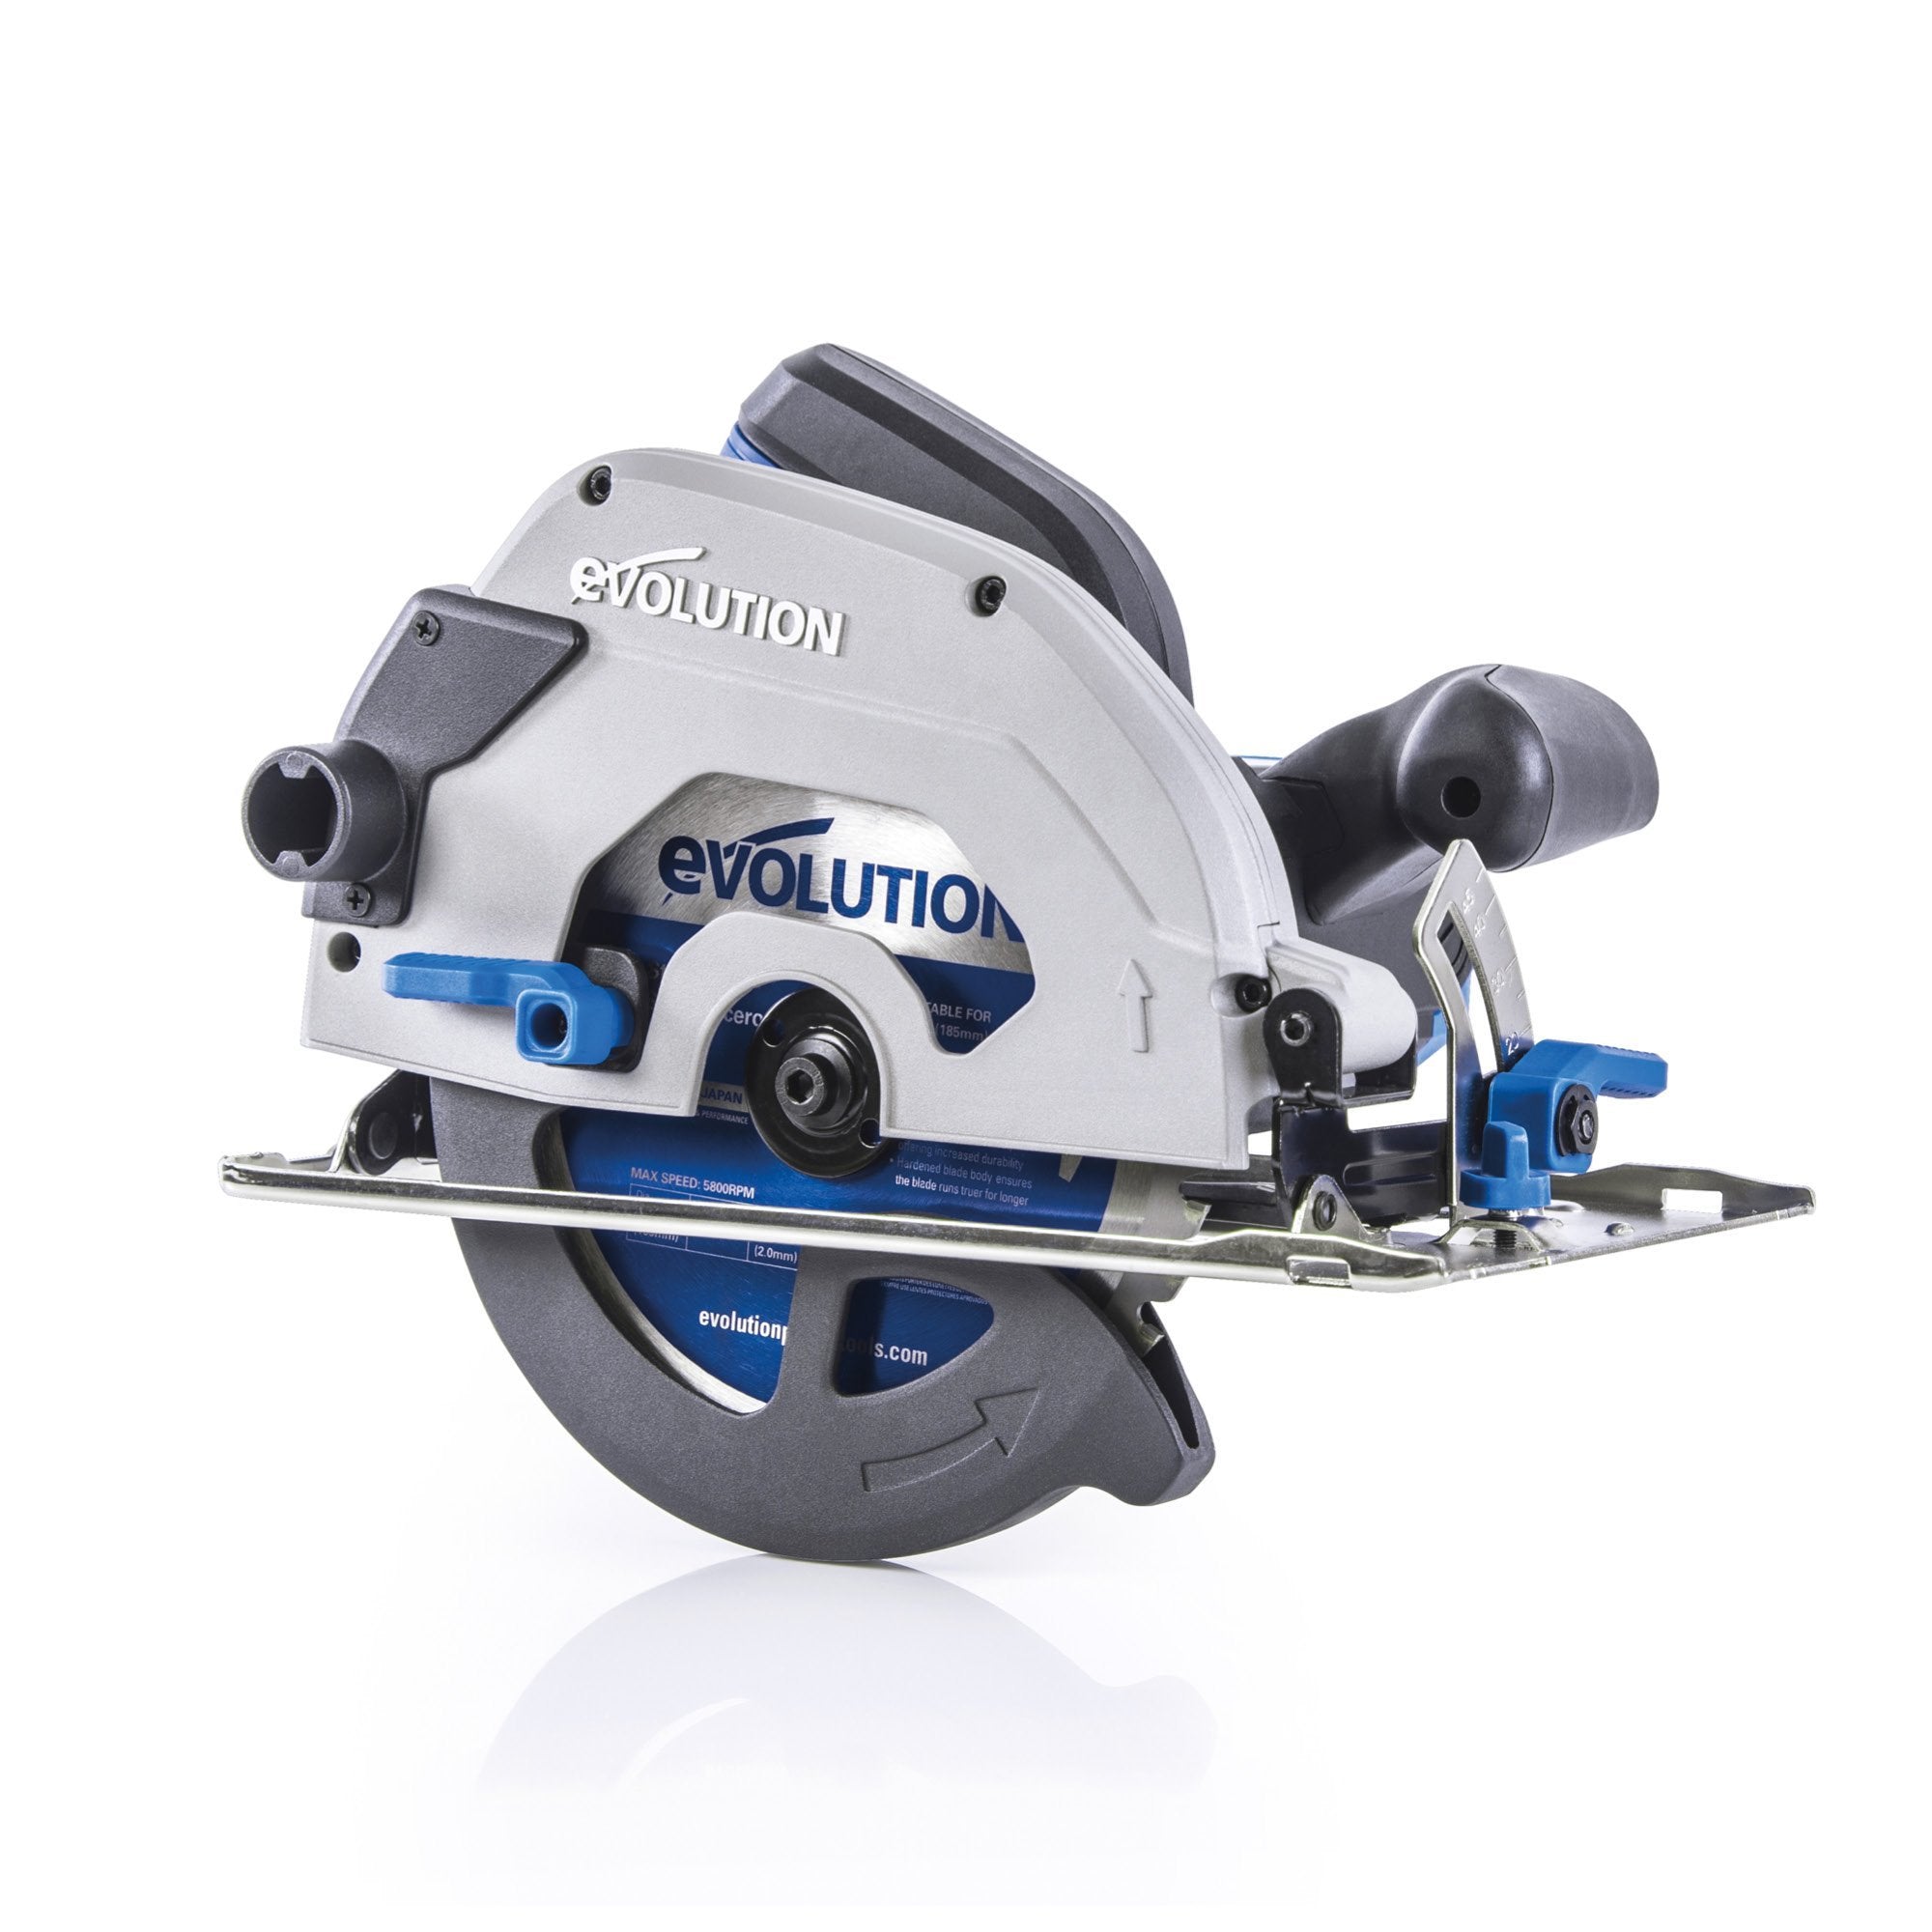
Circular Saws
Cordless Tools
Circular Saws


 Chop Saws & Accessories


 Contractor Tools
 Handheld Drills
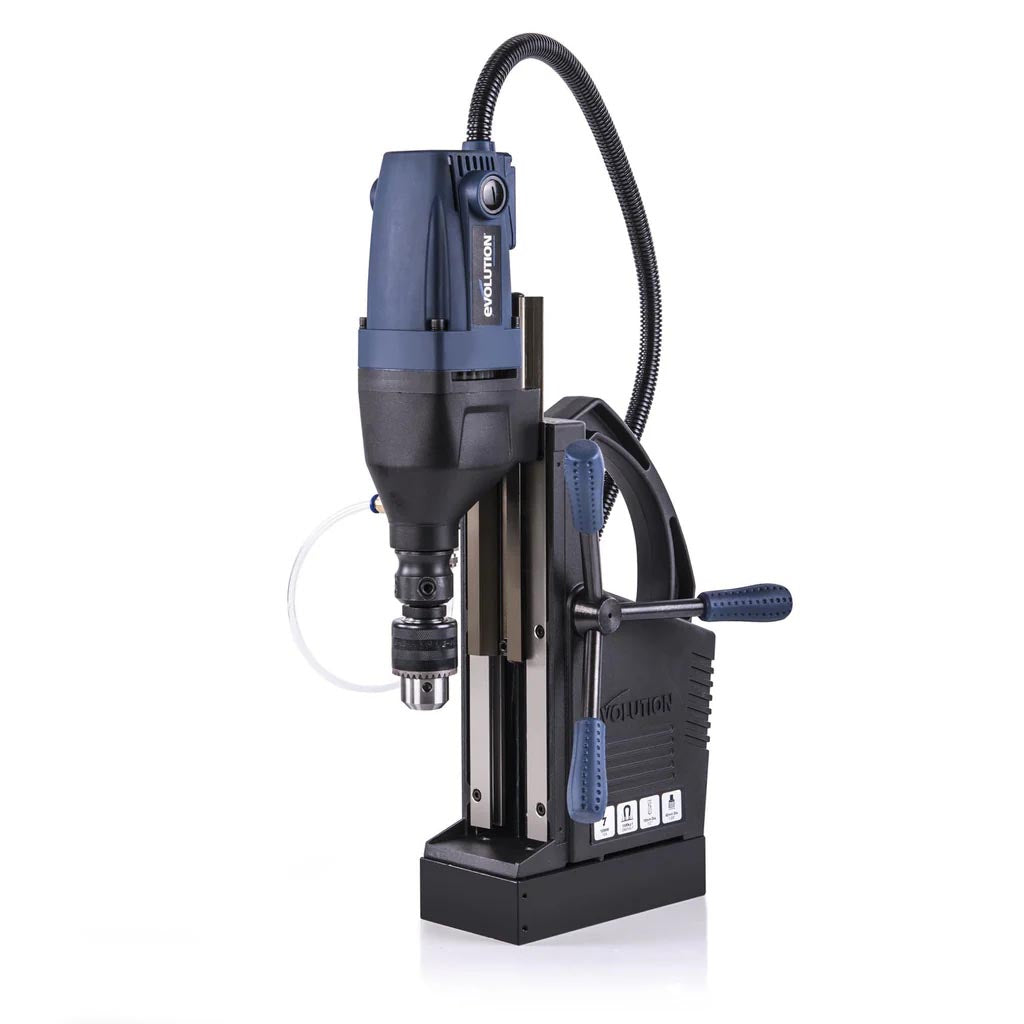 Magnetic Drills
 Mitre Saws


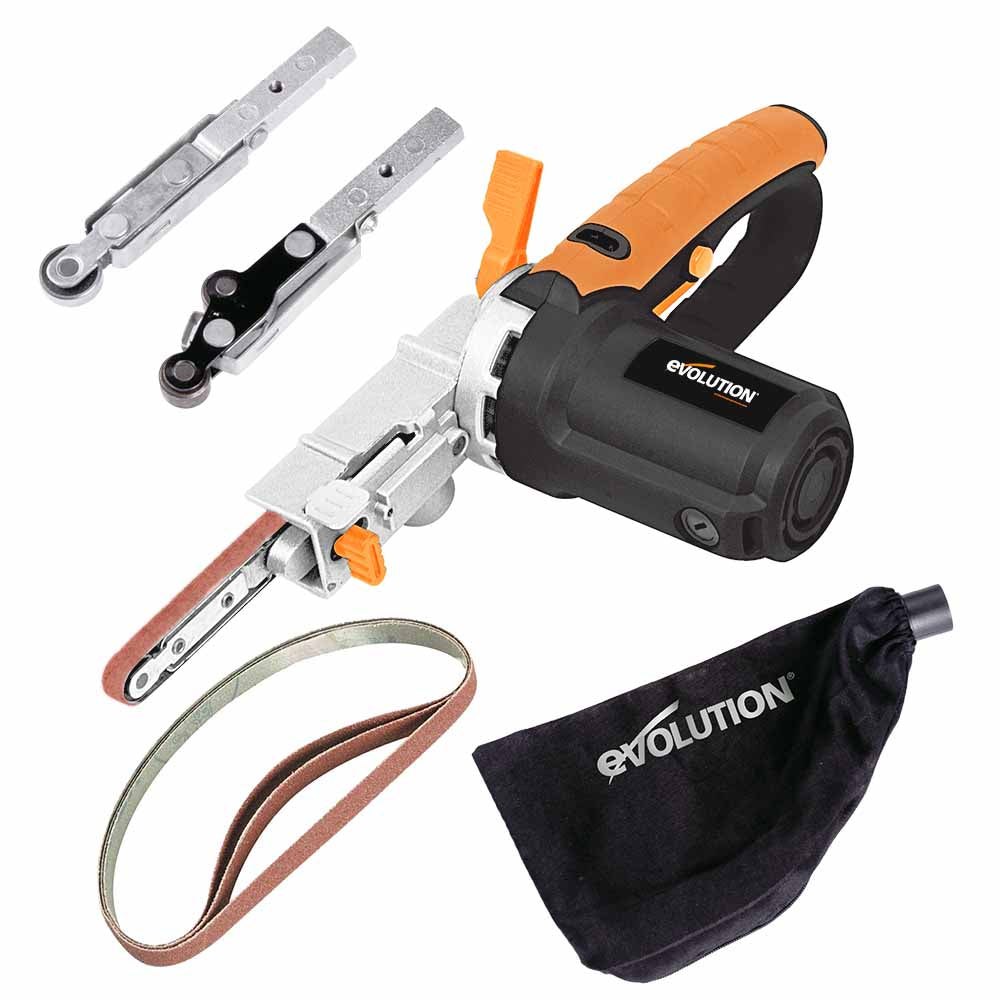
 Sanding Equipment
 Table Saws


Build a sturdy mini picnic bench for kids with this beginner-friendly DIY guide. Step-by-step instructions using Evolution Power Tools.
Looking for a fun, practical woodworking project that’s perfect for beginners and delivers big smiles? This mini picnic bench is just the thing. Built from scratch using a few simple tools and standard timber, it’s the ideal weekend project for DIYers - especially those with little helpers at home.
Whether you’re a parent, grandparent, or weekend maker, this child-sized bench offers a perfect introduction to DIY furniture making using Evolution Power Tools. It's sturdy, safe, and scaled just right for kids to enjoy outdoor snacks, crafts, or playtime.
Watch the video below for a detailed step-by-step guide with Joe Whitaker. There are some notes and diagrams below for extra help.

Start by measuring and cutting the wood to these dimensions:


Each pair of legs, connected with two horizontal supports, forms an “A” frame.

Secure the seat slats to the bench frame. Remember to leave around a 4cm overhang on each side.

Attach the 5 tabletop slats to the frame, with small gaps between each slat, and an overhang to match the benches.

Give your kids' bench a polished, professional look with these final details:

Building a mini picnic bench is a great way to practice essential woodworking skills - from accurate cutting to structural assembly. With Evolution Power Tools by your side, you’ll get precise results and enjoy the process from start to finish. Plus, there's nothing more rewarding than seeing your kids use something you made with your own hands.
Ready to get started? Grab your tools and make something amazing today!