Official
Store
Store

 Cordless Tools
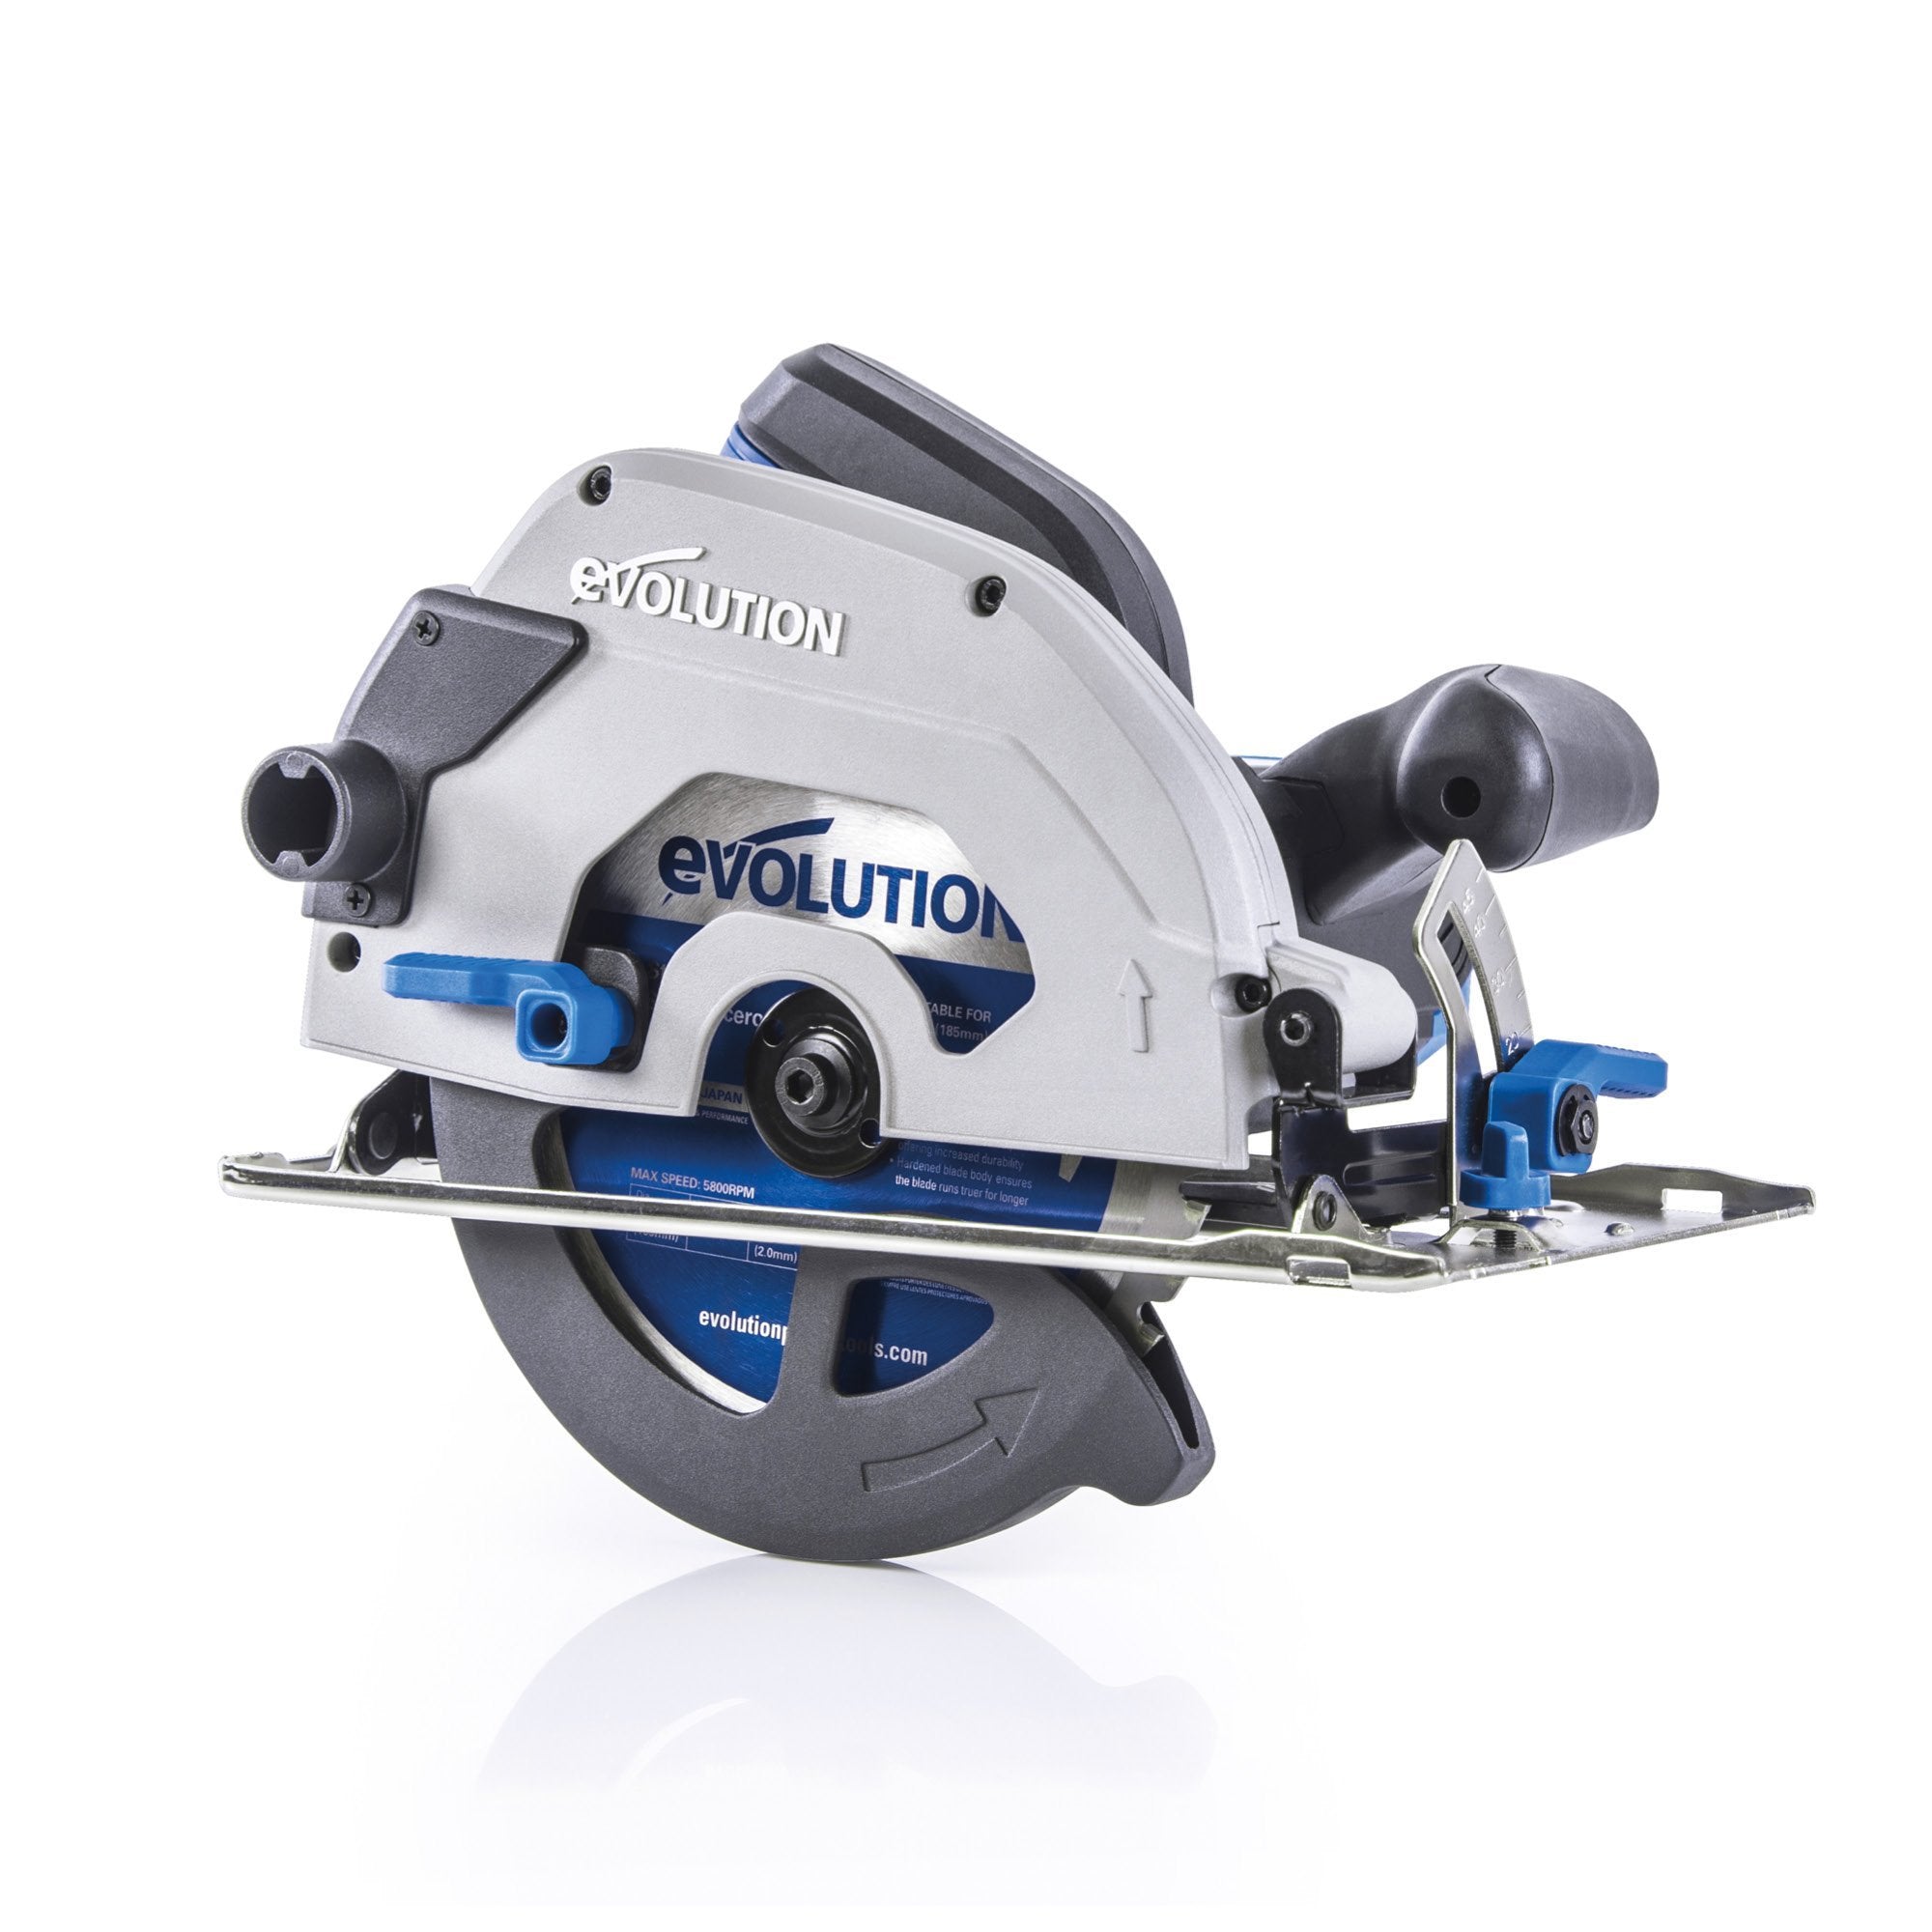
Circular Saws
Cordless Tools
Circular Saws


 Chop Saws & Accessories


 Contractor Tools
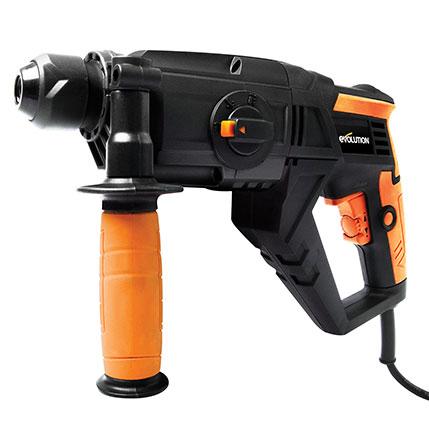
 Handheld Drills
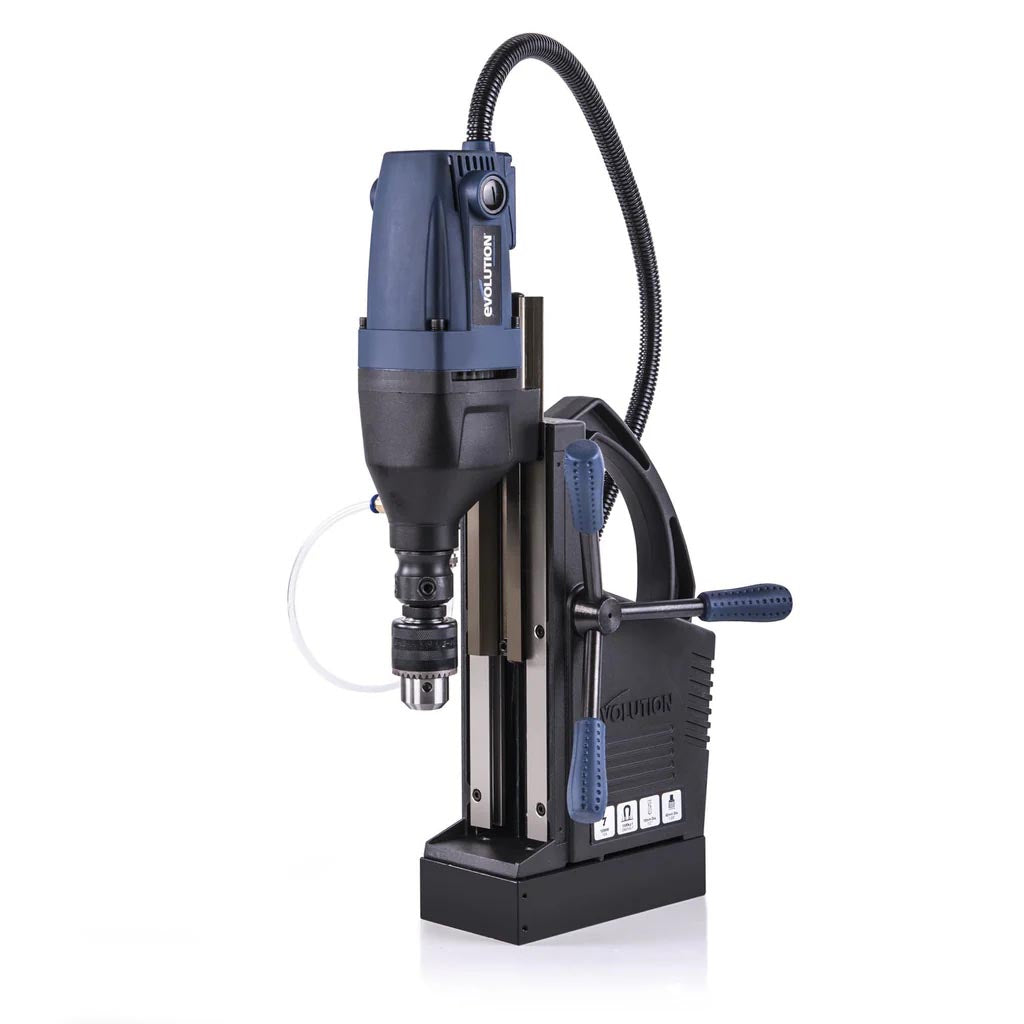 Magnetic Drills
 Mitre Saws


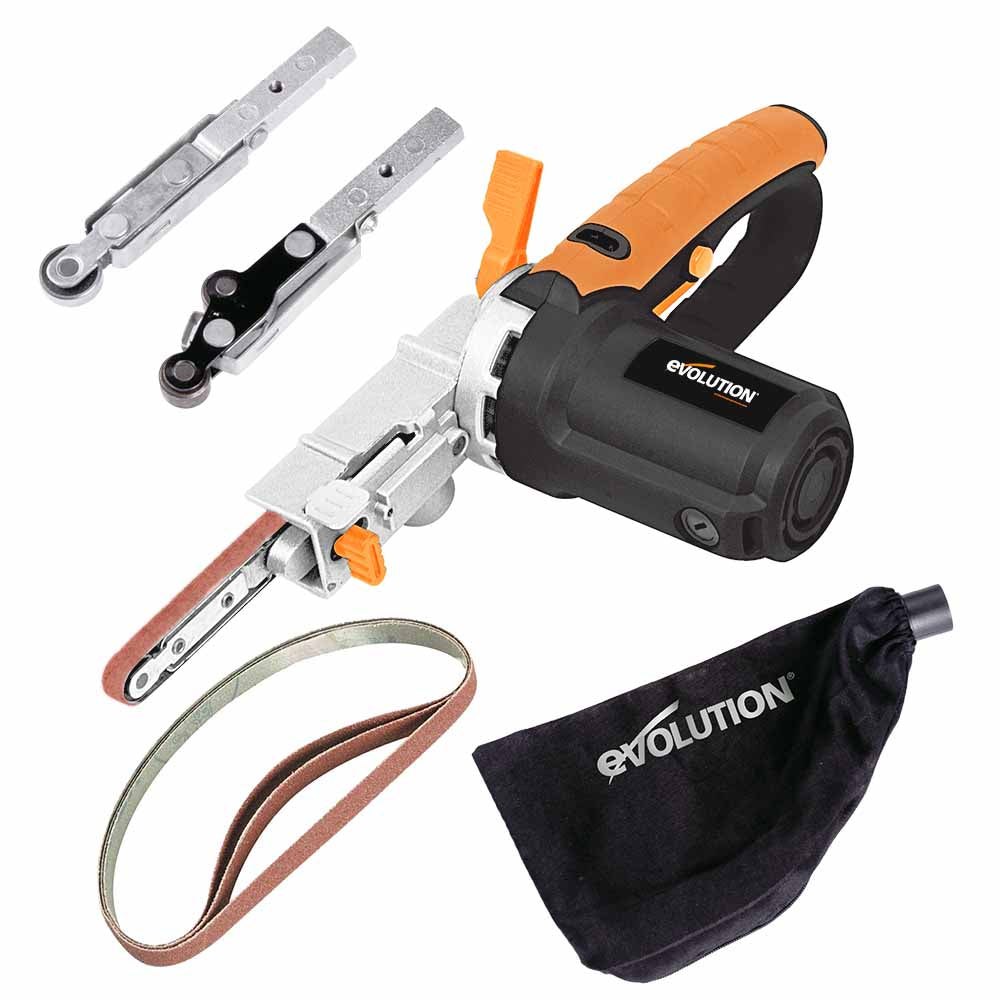
 Sanding Equipment
 Table Saws


Looking to add some creative outdoor play to your garden? This DIY Kids Sandpit project is a fantastic way to do it. With a clever folding seat/lid design, it keeps the sand protected while giving kids a place to sit and play. Even better — it’s simple to build, affordable, and can be done in a single afternoon.
Using just a few decking boards, some basic hardware, and your trusty Evolution power tools, this build is perfect for DIY beginners and families alike.
Watch the video below for a detailed step-by-step guide with Joe Whitaker. There are some notes and diagrams below for extra help.
Based on Sandpit Dimensions: 1248mm x 1200mm x 264mm


Measure and cut all decking boards and frame supports according to the cutting guide. Use an Evolution mitre saw for clean, accurate cuts.

Start by building the two side pieces and then connect those together to form a rectangular frame (1248mm x 1200mm).
Use screws to secure everything square and sturdy.

The clever design here doubles as a folding lid and seat: Use 4 decking boards to permanently fix to 2 of the sides. Then move onto the folding part of the lid.
Use 3 decking boards to form each half of the lid. Use the 200mm and 100mm T-hinges to create a two-stage folding mechanism - one to fold flat and another to act as a backrest when open.


Lay in your sandpit liner to help contain the sand and protect the timber over time. Secure at the edges if needed.
Sand any rough patches and apply a weatherproof, child-safe wood stain or paint. You could also decorate it with names or fun patterns. Fill with clean play sand and add buckets, spades, and imagination.

This DIY Kids Sandpit is a simple, smart build that delivers serious fun. With its folding lid design, it keeps the sand protected and gives kids their own little garden nook to enjoy. This project can be finished in a single afternoon using Evolution tools and basic materials.